
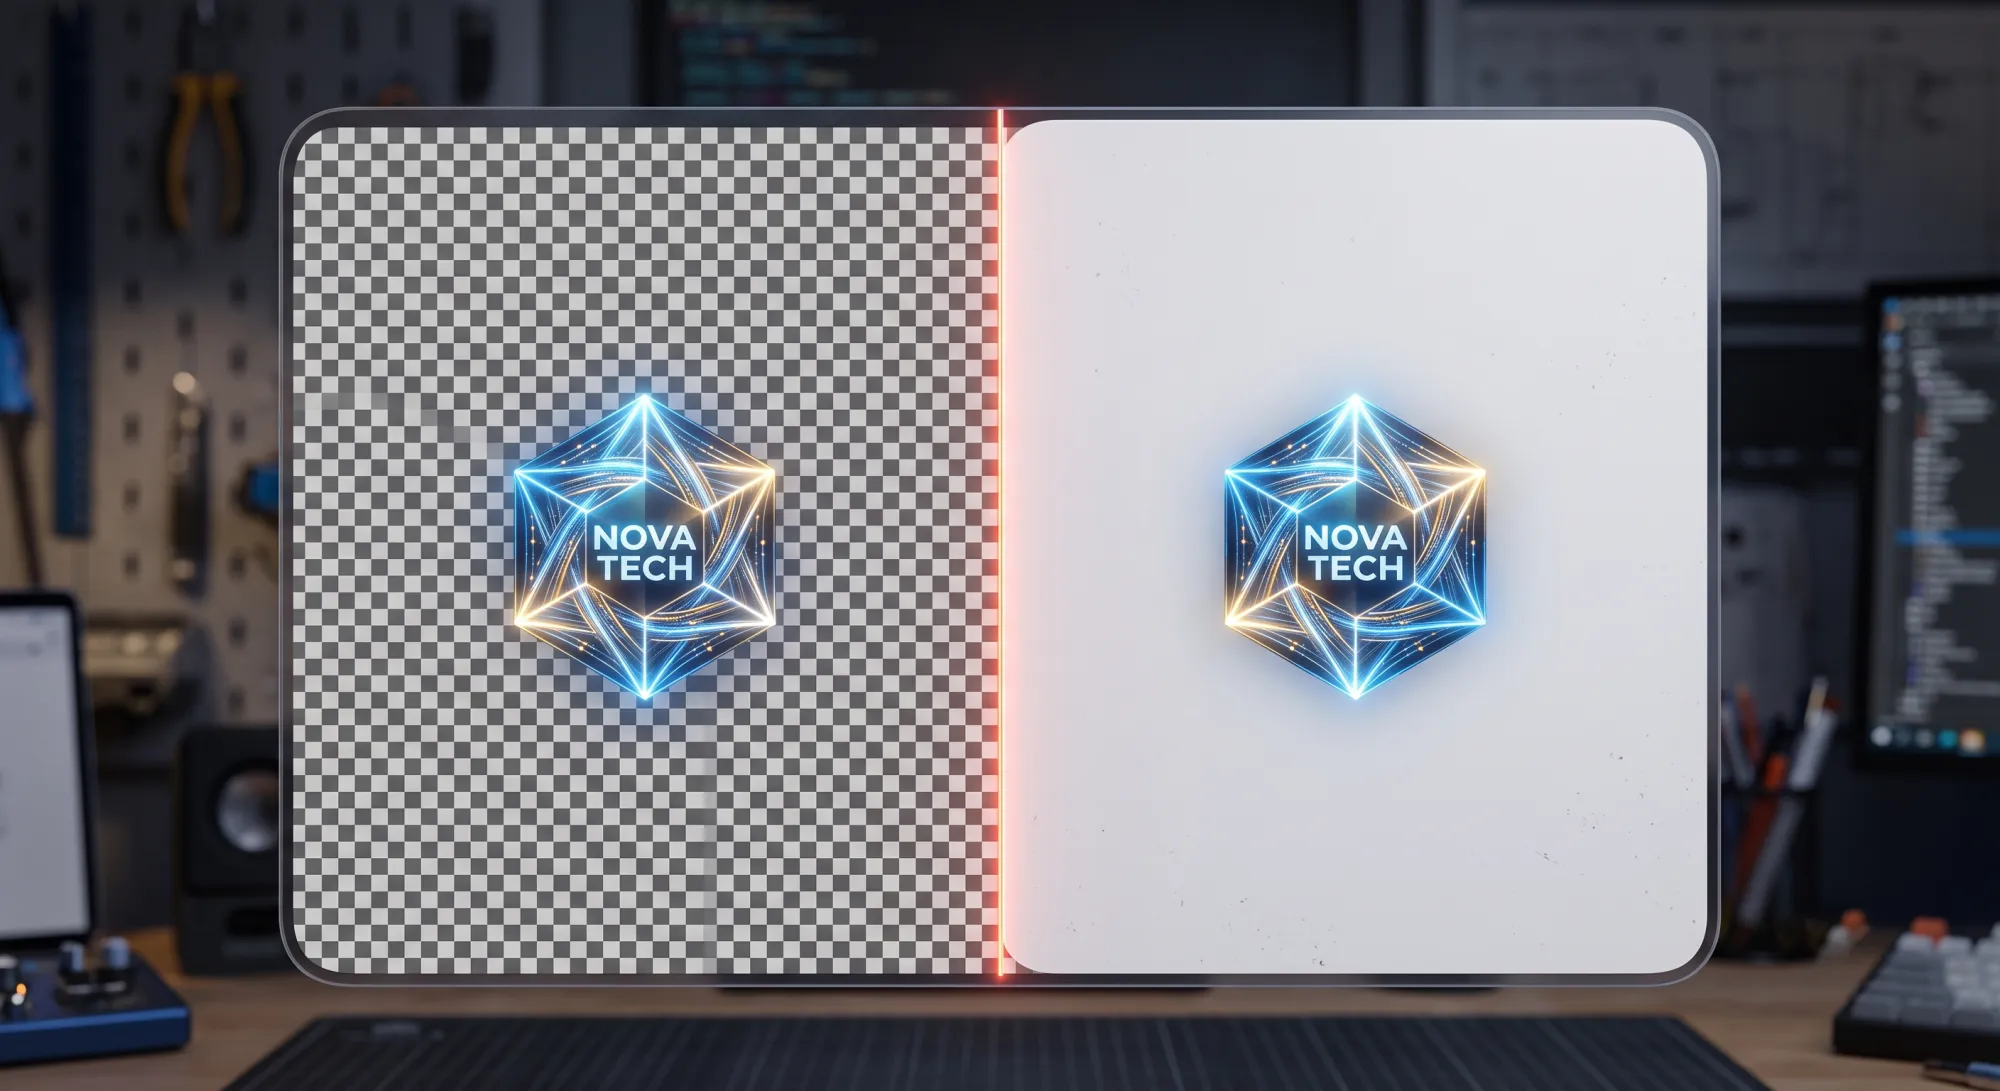
Figma Transparent PNG: 5 Reasons Your Export Still Has a Background
The short answer: the frame you exported still has a fill on it. Figma exports a frame's background along with its contents, so a white or grey rectangle rides along with your icon.
The fix: remove the fill, or exclude it from exports. In the Fill section, click the small Show in exports toggle next to the colour — the background stays visible while you work and disappears from every exported file.
Worth knowing before you start debugging anything else: per Figma's own documentation, "it's not possible to export PNGs without an alpha value." Every PNG Figma produces has an alpha channel. So if yours looks opaque, nothing removed the transparency — something filled it in. This post is about finding what.
- 1. The frame fill is in the export
- 2. You exported JPG (or something converted it later)
- 3. A layer underneath is being captured
- 4. Something downstream flattened it
- 5. It's not a background — it's padding
- Which formats actually keep transparency
- The WordPress half of the problem
- Diagnose it in 20 seconds
- FAQ
Transparency is one of those things that either works without you thinking about it or wastes forty minutes. The confusing part is that four completely different problems produce the same symptom — a solid rectangle where you wanted nothing — and the advice you find online only covers the first one.
Here are all five, in the order they actually happen.
1. The frame fill is in the export
This is the cause maybe seven times out of ten, and it catches experienced designers because the fill is doing useful work on the canvas.
You drew an icon on a white frame so you could see it. Figma treats that frame fill as part of the frame, so when you export the frame you get the icon and the white. It is behaving exactly as designed; it just isn't what you wanted.
There are two fixes, and the second is much better:
- Delete the fill. Select the frame, and in the Fill section click the minus. Now your canvas is a dark checkerboard and your icon may be hard to see.
- Exclude the fill from exports. Hover the fill row and click the small toggle labelled Show in exports. The colour stays on your canvas and stops appearing in exported files. This is the one you want.
Check the preview, not the canvas. The export panel shows a thumbnail of what you are about to get. A checkerboard there means transparent. A solid colour there means you still have a problem — and it takes one second to look, versus exporting, opening the file, and coming back.
One more version of this trips people up: the fill might be on a rectangle, not the frame. If someone drew a white rectangle as the bottom layer instead of setting a frame fill, no amount of frame-level fiddling helps. Open the layer list and look at what is actually at the bottom of the stack.
2. You exported JPG (or something converted it later)
JPEG has no alpha channel. Not "poor support" — none. The format has no way to store the concept of a see-through pixel, so every encoder in the world has to pick a colour and flatten your transparency onto it. Figma picks white. Some tools pick black, which is why transparent images occasionally come out looking like they were shot at night.
This is worth stating plainly because it is the one cause no setting can fix:
If the file is a .jpg, it is not transparent, and it never was. Change the format, or accept the background colour.
The sneaky version of this is conversion further down the line. You export a perfectly good transparent PNG, and then an image optimisation plugin on your site converts PNGs to JPEG to save bandwidth. Your logo now has a white box around it on every page, and nothing in your Figma file is at fault. See the WordPress section below.
3. A layer underneath is being captured
Figma has a setting called Ignore overlapping layers, tucked in the export settings menu. Figma's documentation describes the two states clearly:
When enabled, Figma only includes the selected layers in the export. Any other objects that intersect or overlap the selected object will not affect the export. When disabled, Figma includes any layers that intersect with the selected layer or group.
So if your icon happens to sit on top of a large background rectangle that belongs to the page layout — a section band, a mockup canvas, a big neutral surface behind everything — that rectangle gets exported with it while the setting is off.
The tell for this one: the background in your export is not white. It matches some colour from elsewhere in your design. That is the giveaway that you are capturing a real layer rather than a frame fill.
Fix: turn on Ignore overlapping layers, or move the layer out of the stack before exporting.
4. Something downstream flattened it
Your export was fine. What you did with it wasn't.
Copy as PNG is the usual suspect. Right-click → Copy as PNG puts a genuinely transparent image on your clipboard. But a clipboard image is only as good as the app receiving it, and plenty of apps composite clipboard images onto a solid colour instead of preserving the alpha channel. Black is the classic result, because the receiving app is compositing onto an empty buffer.
If you are pasting into a document, a slide, a chat, or a CMS editor and getting a black or white box: export to a file and insert the file. The clipboard path is convenient and lossy in ways you can't control.
The same applies to any tool that "processes" the image after you: some compression services, some CMS media handlers, and most PDF pipelines will flatten alpha onto a background of their choosing without telling you.
5. It's not a background — it's padding
This one isn't really a transparency bug, but it produces the complaint "my export has extra space around it," which people report the same way.
If your layer has a drop shadow, a blur, or a stroke that extends past its bounds, Figma expands the export area to contain the effect. Your 64 px icon comes out 96 px, with your icon floating in the middle of what looks like empty background.
That space genuinely is transparent — it just isn't empty in the sense you wanted. If you need tight bounds, either turn on Clip content on the parent frame, or drop the effect and apply it in CSS instead. For a shadow on a web image, CSS is almost always the better answer: it stays crisp at every size and costs you no bytes.
Which formats actually keep transparency
| Format | Transparency | Export from Figma | Use it for |
|---|---|---|---|
| PNG | Yes — full alpha | Native | The safe default; heavy files |
| WebP | Yes — lossy and lossless | Not native — needs conversion | The best web answer |
| AVIF | Yes | Not native | Smallest, if you can accept the tooling |
| SVG | Yes | Native | Logos, icons, anything vector |
| JPG | No — impossible | Native | Photographs with no transparency |

The line most people miss is the WebP one. There is a persistent belief that transparency means PNG and therefore means large files. It doesn't, and hasn't for years: WebP carries an alpha channel in lossy mode too. That combination — see-through and small — has no equivalent in PNG or JPG.
For a transparent logo or icon, a lossy WebP is routinely a fraction of the size of the same image as PNG, with no visible difference. Figma still won't export WebP natively, so you need a conversion step; our guide to getting WebP out of Figma compares the four ways to do it.
If it's vector, use SVG and stop reading. A logo exported as a transparent PNG at 2x is a worse version of the same logo as SVG: bigger, softer on high-density screens, and impossible to recolour. Rasterise vector art only when something in your stack forces you to.
The WordPress half of the problem
Good news first: WordPress handles transparency correctly. It accepts transparent PNG and WebP uploads, and when it generates its thumbnail sizes it preserves the alpha channel rather than flattening it. The upload step is not where transparency dies.
It dies in three places after that.
1. An optimisation plugin converted your PNG to JPEG
This is by far the most common. Image optimisation plugins often offer "convert PNG to JPEG" because PNGs are large and the saving is real — but the setting is usually a blunt toggle applied to every PNG, transparent or not. The result is a white or black box behind every logo you have uploaded.
How to check: open the image in the Media Library and look at the file name in the attachment details. If you uploaded logo.png and the library shows logo.jpg, you have found it. Most such plugins have an "exclude transparent images" option — turn it on, then re-upload the affected files, because the conversion is not reversible.
2. Your theme is putting the image on the wrong colour
A transparent image shows whatever is behind it, which is the entire point and also the risk. A dark logo exported transparently looks perfect in Figma on a light artboard and vanishes in a dark footer. Transparency doesn't remove the background problem — it moves the decision to whoever styles the page.
If a logo appears on both light and dark surfaces, you need two files, or an SVG you can recolour with CSS.
3. You resized it into a format that can't hold alpha
If you are resizing or converting images before upload — which you should be, to keep file sizes sane — check what the conversion does with transparency. Anything that outputs JPEG will flatten it. PNG and WebP won't.
How Fig2WP handles it: converting to WebP or PNG preserves the alpha channel exactly, so a transparent icon stays transparent all the way into your Media Library. Choosing JPG deliberately composites onto white rather than black — a sane default rather than a surprise, but still a one-way trip. If the layer has transparency you care about, pick WebP.
Diagnose it in 20 seconds
| What you see | Cause | Fix |
|---|---|---|
| White background, export preview also shows white | Frame fill is in the export | Turn off Show in exports on the fill |
| Background matches a colour from your design | An overlapping layer is being captured | Enable Ignore overlapping layers |
File extension is .jpg | Format can't store alpha | Export PNG or convert to WebP |
| Black background, only after pasting | The receiving app flattened the clipboard | Export a file, insert the file |
| Transparent, but with extra space around it | A shadow or blur expanded the bounds | Clip content, or move the effect to CSS |
| Fine locally, white box on the live site | An optimisation plugin converted it | Exclude transparent images, re-upload |
FAQ
Why is my Figma PNG export not transparent?
The frame still has a background fill, and Figma exports the frame's fill with its contents. Use the Show in exports toggle in the Fill section to keep the colour on your canvas and out of your files. Figma cannot produce a PNG without an alpha channel, so a solid background always came from something in your file rather than from the export itself.
Can Figma export a transparent JPG?
No, and neither can anything else. JPEG has no alpha channel. Transparent areas get flattened onto a solid colour at encode time — white in Figma's case. Use PNG or WebP.
Does WebP support transparency?
Yes, in both lossless and lossy mode. That makes it the only broadly supported format that gives you transparency and small files together. A transparent WebP is typically far smaller than the same image as PNG.
Does WordPress strip transparency on upload?
No. WordPress accepts transparent PNG and WebP and keeps the alpha channel when generating thumbnails. If your live image has a white box, look at your image optimisation plugin — converting PNG to JPEG is a common default and it destroys transparency permanently.
Why does my transparent image have a black background?
Almost always because it was pasted rather than inserted as a file. Many applications composite clipboard images onto black instead of preserving alpha. Export the file and insert that instead.
Should logos be PNG or SVG?
SVG, if the logo is vector. It stays sharp at every size, is usually smaller, and can be recoloured in CSS. Reach for a transparent PNG or WebP only when the artwork is genuinely raster or something in your stack refuses SVG.
My icon exports bigger than it should be, with space around it.
A drop shadow, blur or outside stroke is extending past the layer bounds and Figma is expanding the export area to include it. Turn on Clip content on the parent frame, or apply the shadow in CSS instead — on the web that is nearly always better anyway.
Transparency that survives the trip
Fig2WP converts to WebP with the alpha channel intact and sends the finished file straight to your WordPress Media Library — no download, no re-encode, no optimisation plugin quietly turning your logo into a white box.