Fig2WP exports selected Figma layers, applies your output settings (format, quality, dimensions), and uploads files to WordPress Media Library via X-API-Key authentication.
- WordPress admin access (plugin install + settings access).
- Figma account with permission to run plugins.
- A reachable WordPress site URL using
http://orhttps://. - Layers selected in Figma that can be exported as images.
Install the WordPress plugin
Option A: Install from ZIP (recommended)
- In WordPress Admin, go to Plugins → Add New Plugin.
- Click Upload Plugin and choose your Fig2WP plugin ZIP.
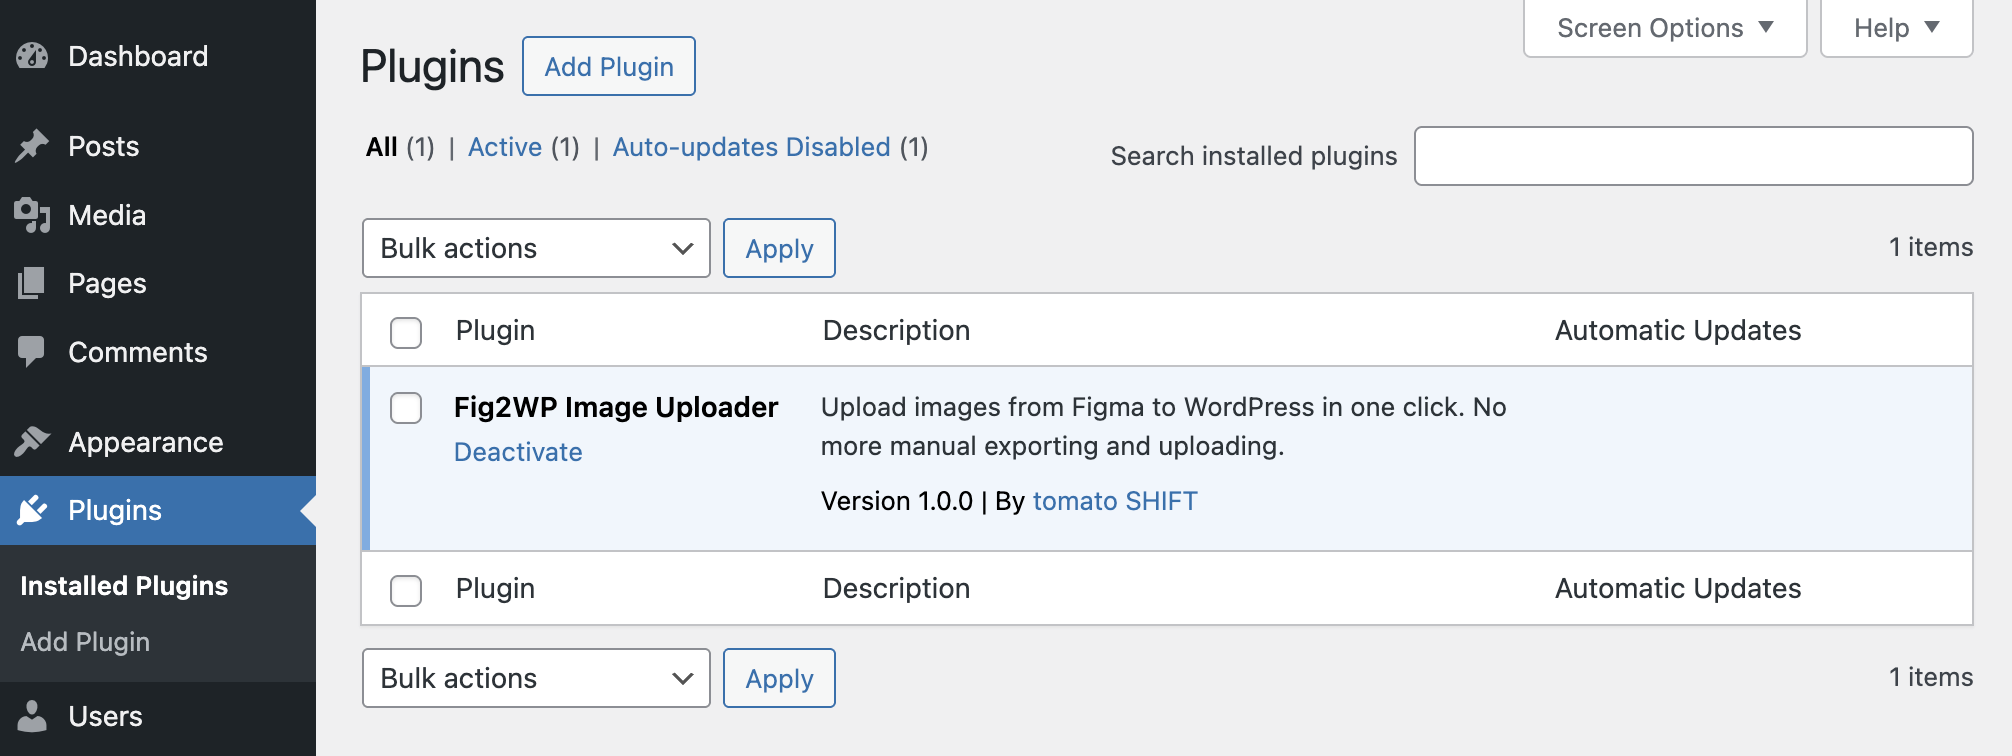
- Click Install Now, then Activate Plugin.
Option B: Manual install via files
- Copy the plugin folder to
wp-content/plugins/fig2wp-image-uploader. - Ensure
fig2wp-image-uploader.phpis in that folder. - Activate Fig2WP Image Uploader in WordPress Admin.
Generate API key
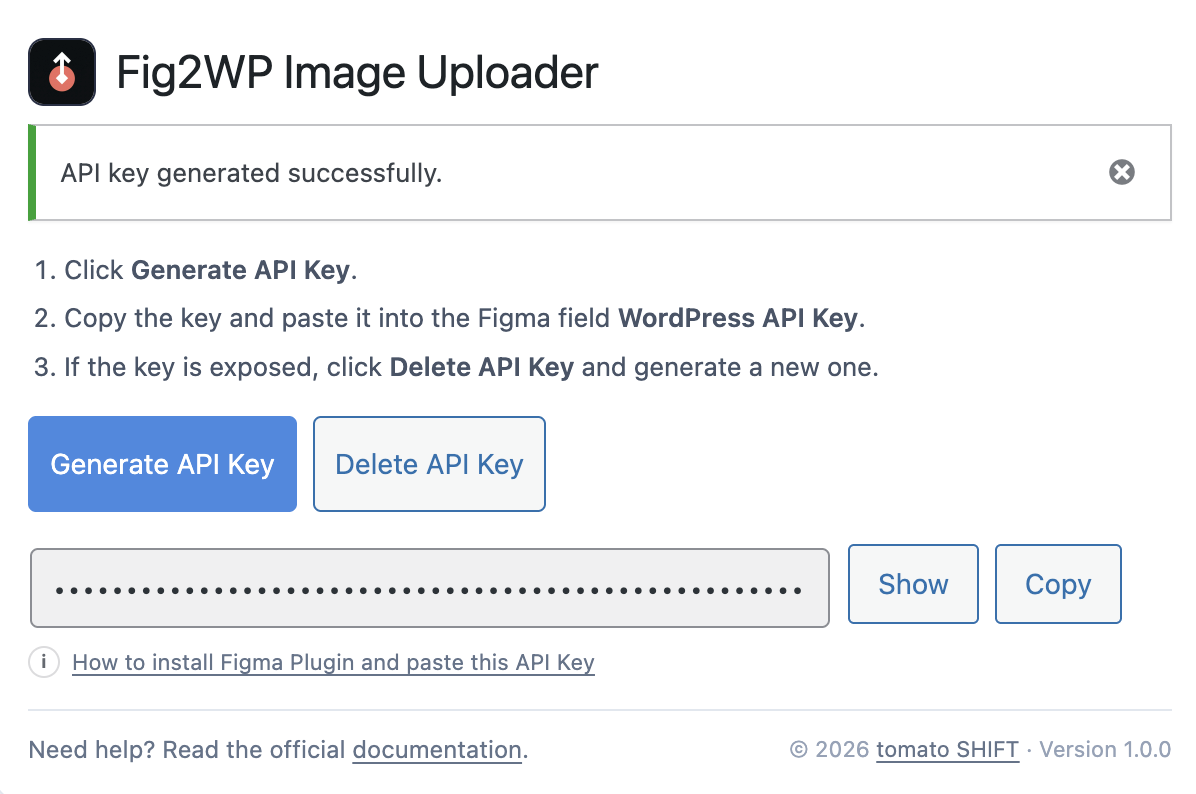
- Go to Settings → Fig2WP Image Uploader.
- Click Generate API Key.
- Click Copy and keep this key for Figma settings.
- If needed, rotate the key with Delete API Key then generate a new one.

Install the Figma plugin
- Open Figma and go to the plugin page in Figma Community.
- Click Install.
- Open a design file, then run Plugins → Fig2WP Image Uploader.
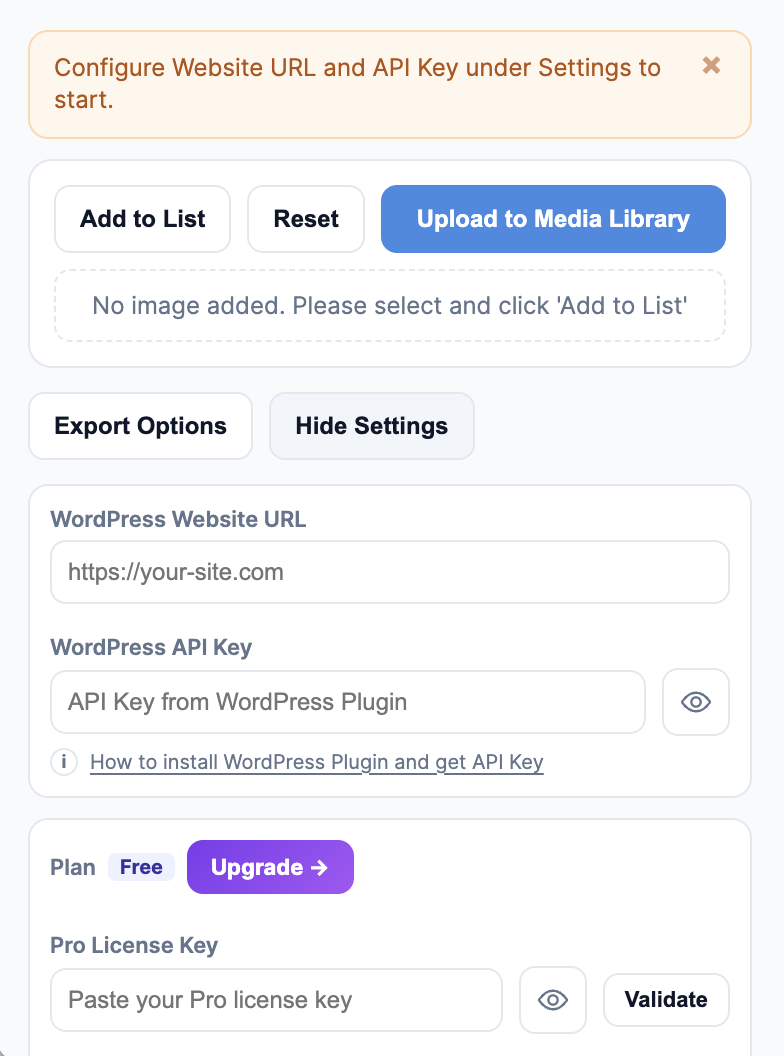
Configure plugin settings in Figma
- Open Settings in the plugin UI.
- Set WordPress Website URL (for example:
https://your-site.com). - Paste your WordPress API Key.
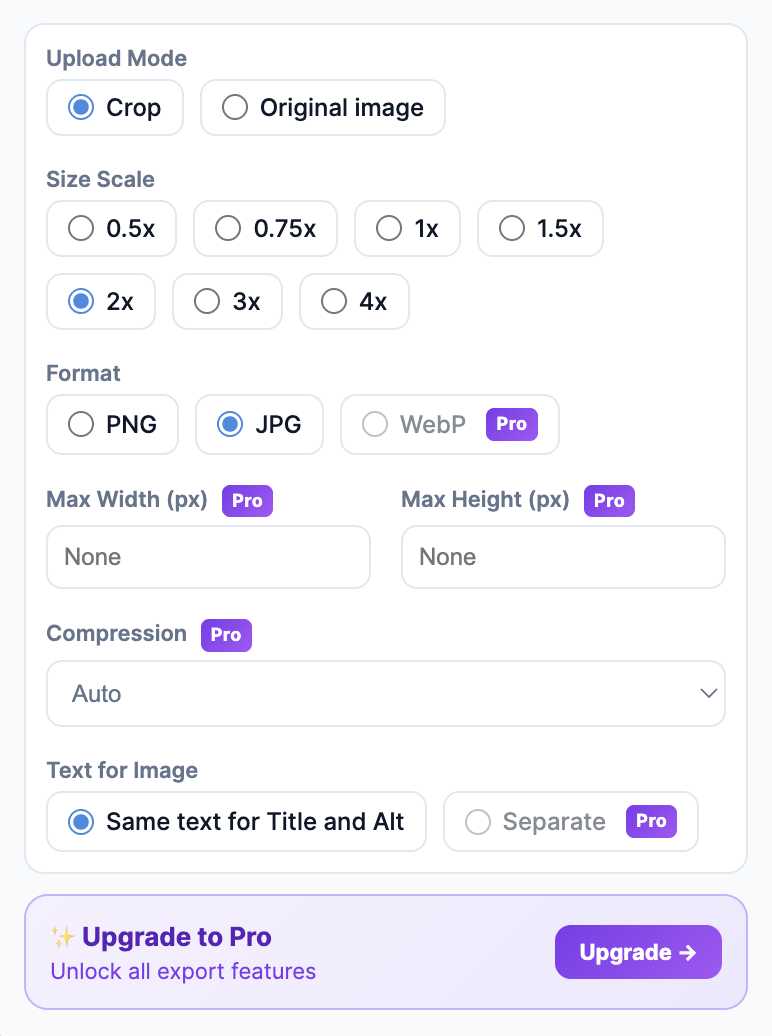
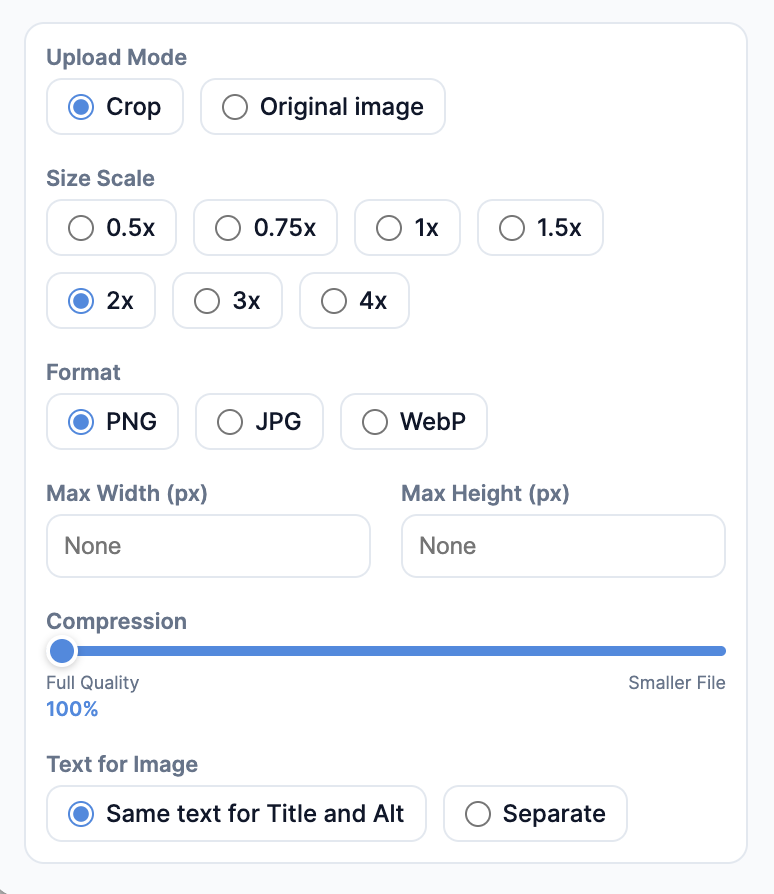
- Open Export Options and choose:
.local domains will not work,
except http://localhost or http://127.0.0.1 during local development.
- Upload Mode: Crop or Original Image
- Crop Size Scale: 1x, 1.5x, 2x, 3x, 4x (Crop mode only)
- Format: png, jpg, webp (Pro)
- Max Width / Max Height (pixels)
- Quality from 1 to 100
Crop: Exports exactly what is visible inside the layer/frame bounds. Use this when you want the final image to match the selected area only.
Original Image: Exports the full source image without cropping to frame bounds, and keeps original image quality by default. Use this when you need the entire original asset at original quality. (If you set Quality lower for JPG/WEBP, that output quality setting will still apply.)
Tip: Settings are saved, so you usually configure once and reuse.

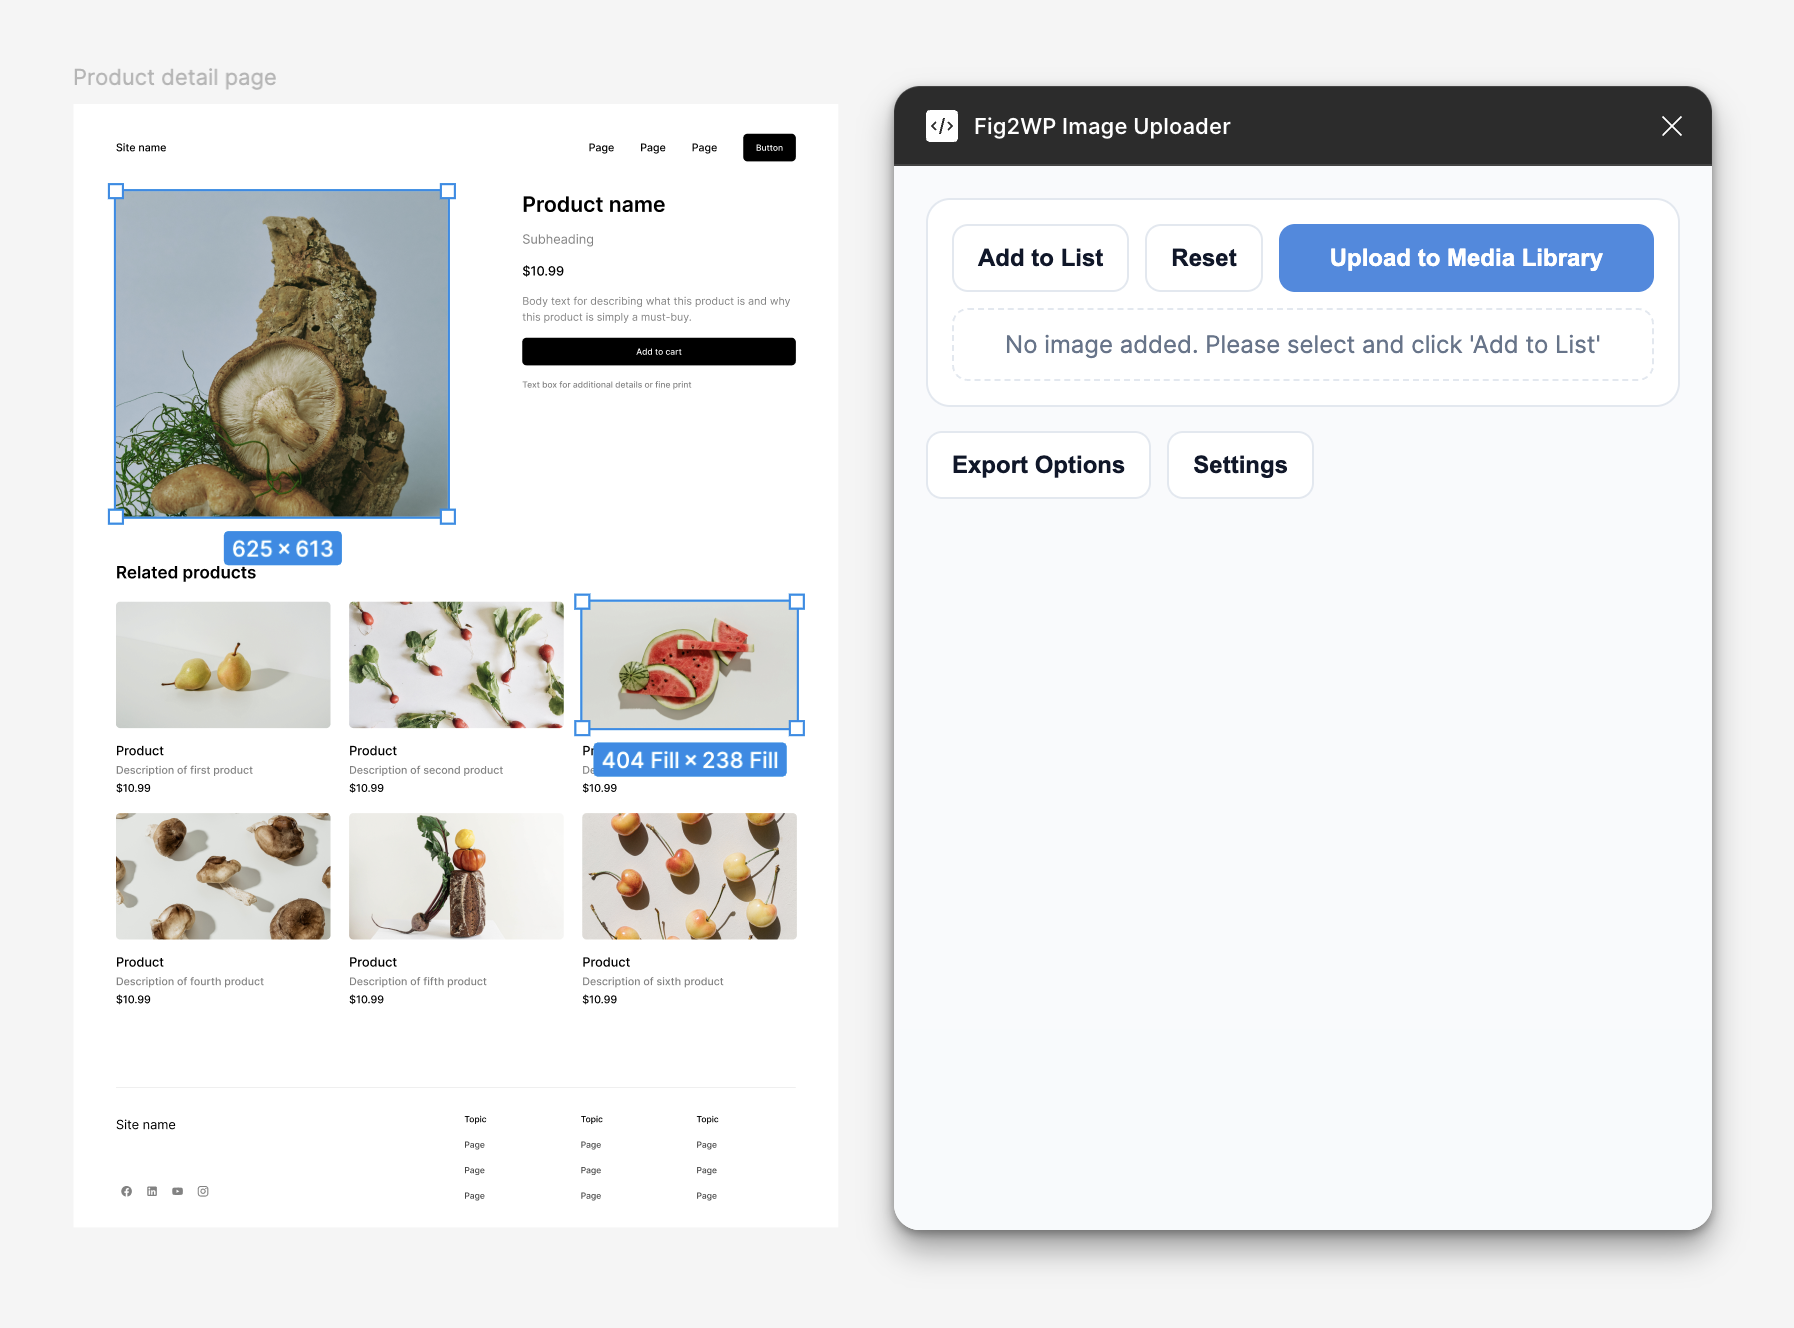
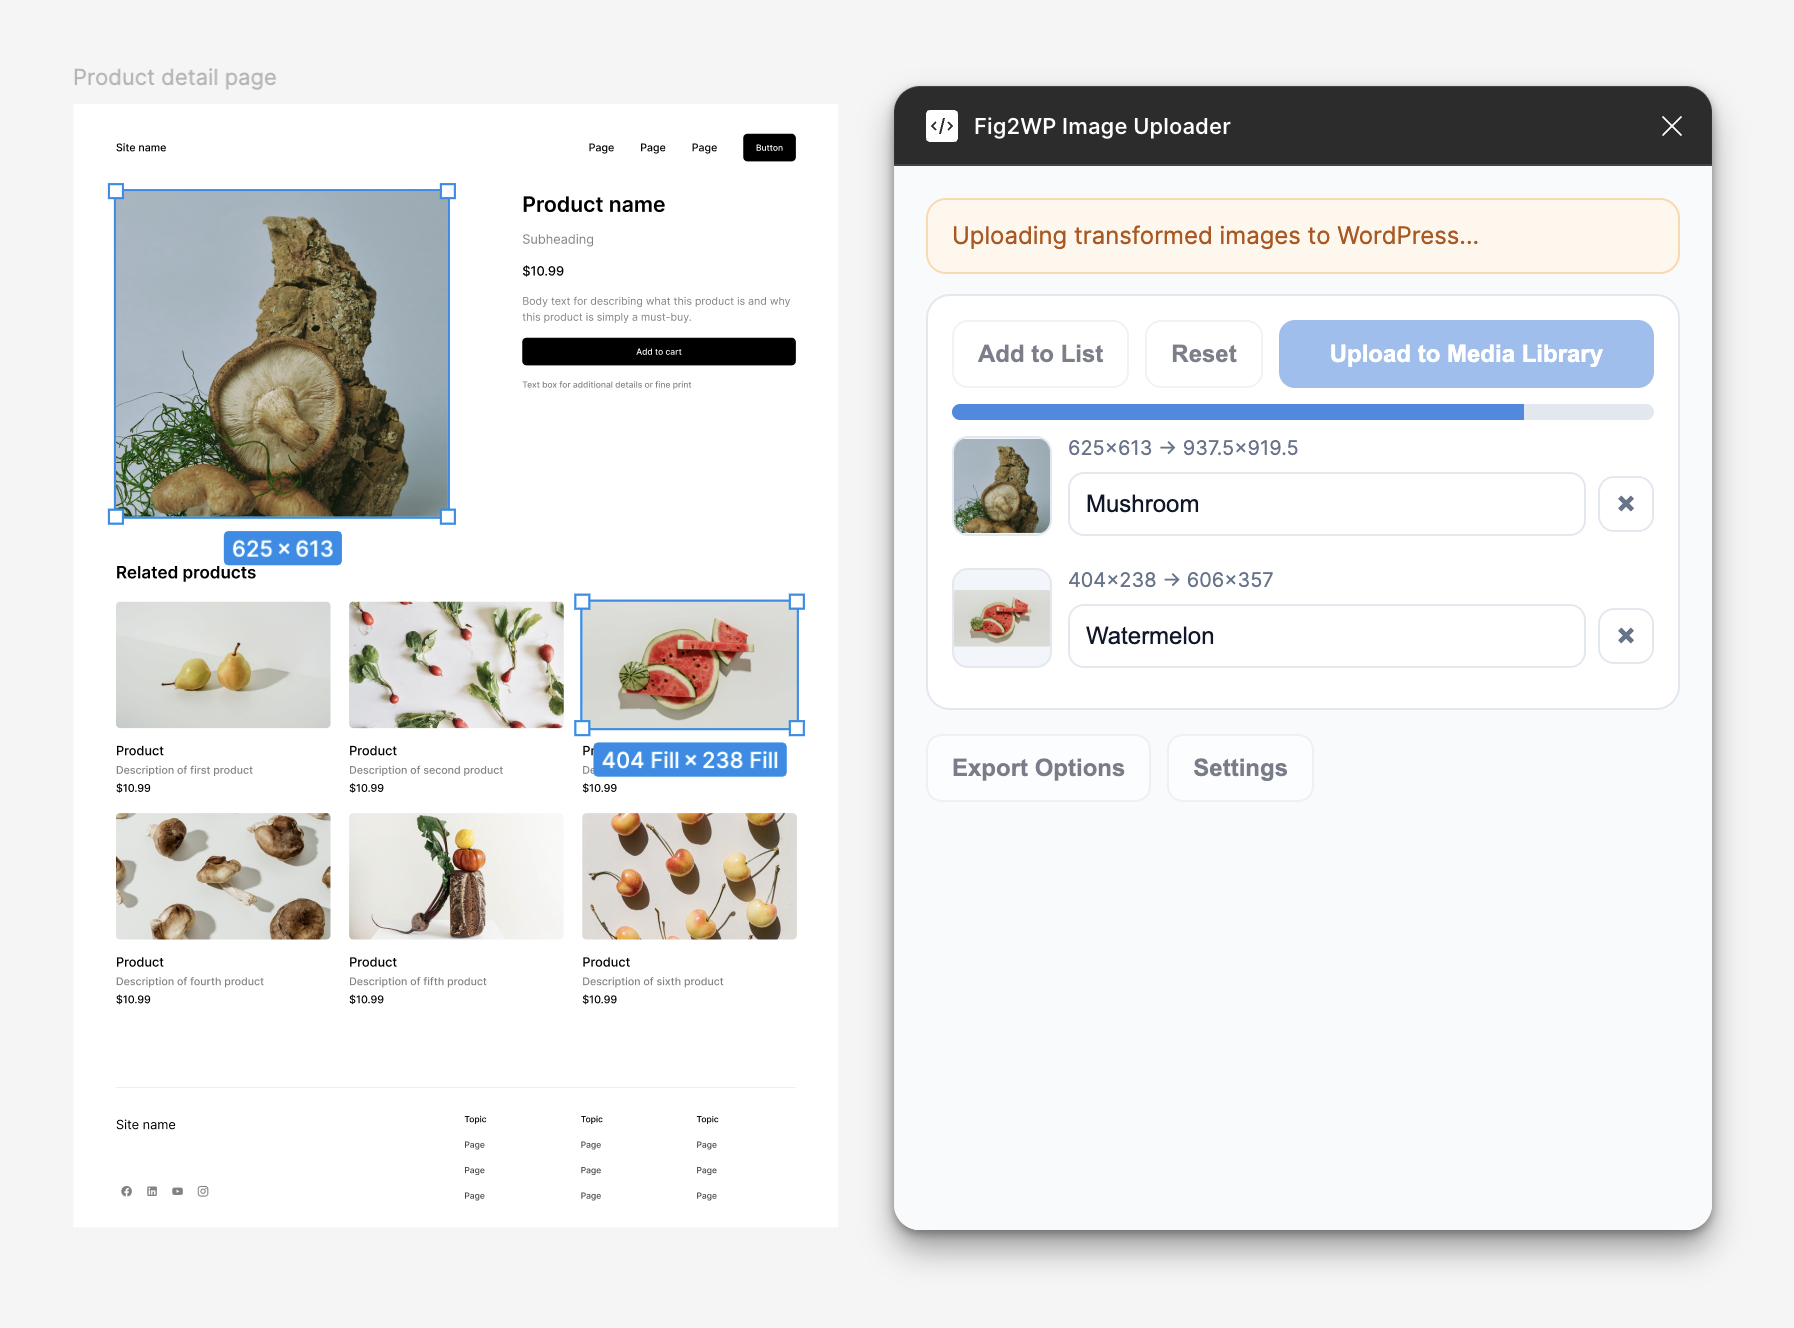
Upload images from Figma to WordPress
- Select one or more image layers in Figma.
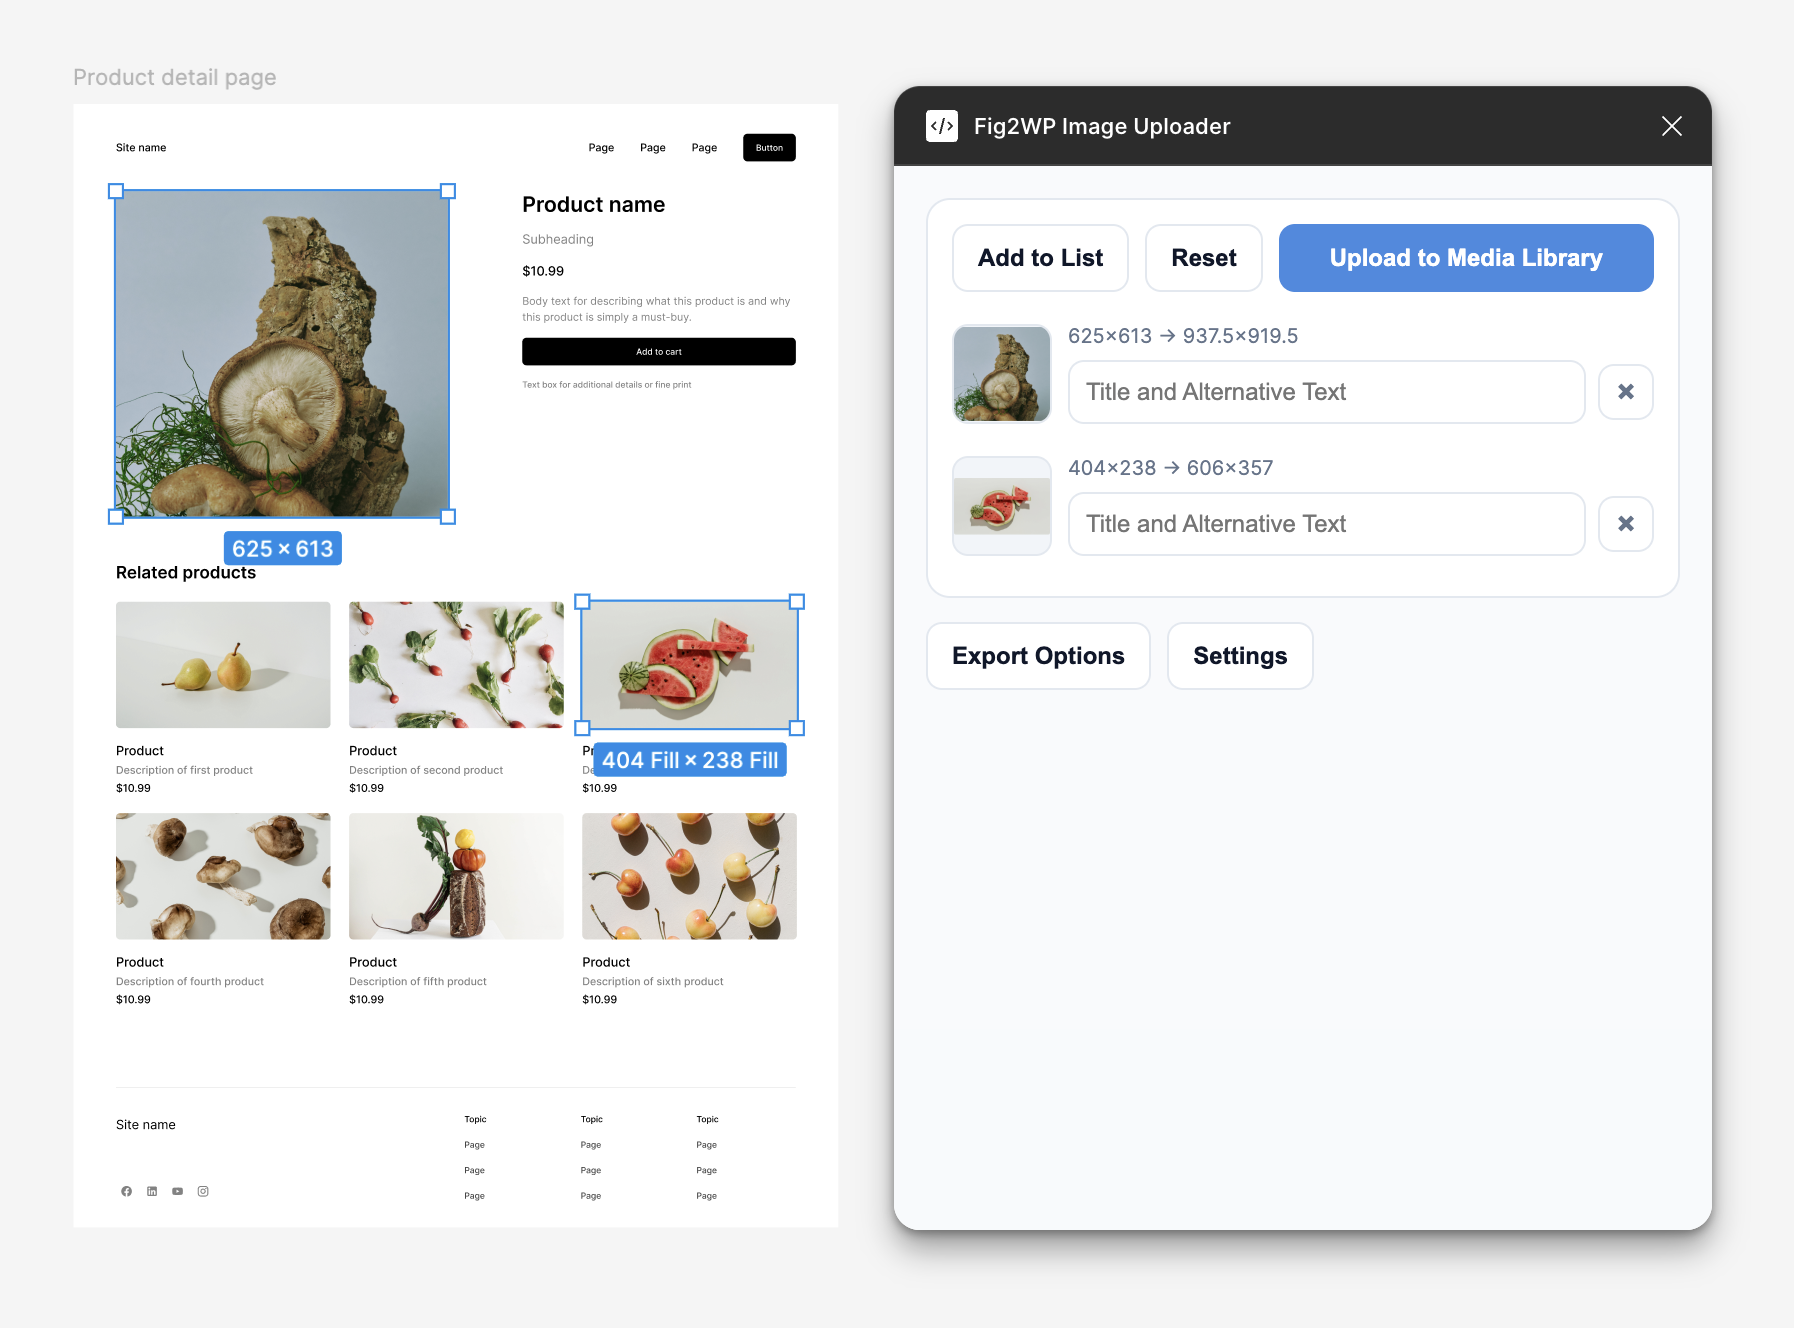
- In plugin UI, click Add to List.
- For each row, edit the title (used as title and alt text).
- Click Upload to Media Library.
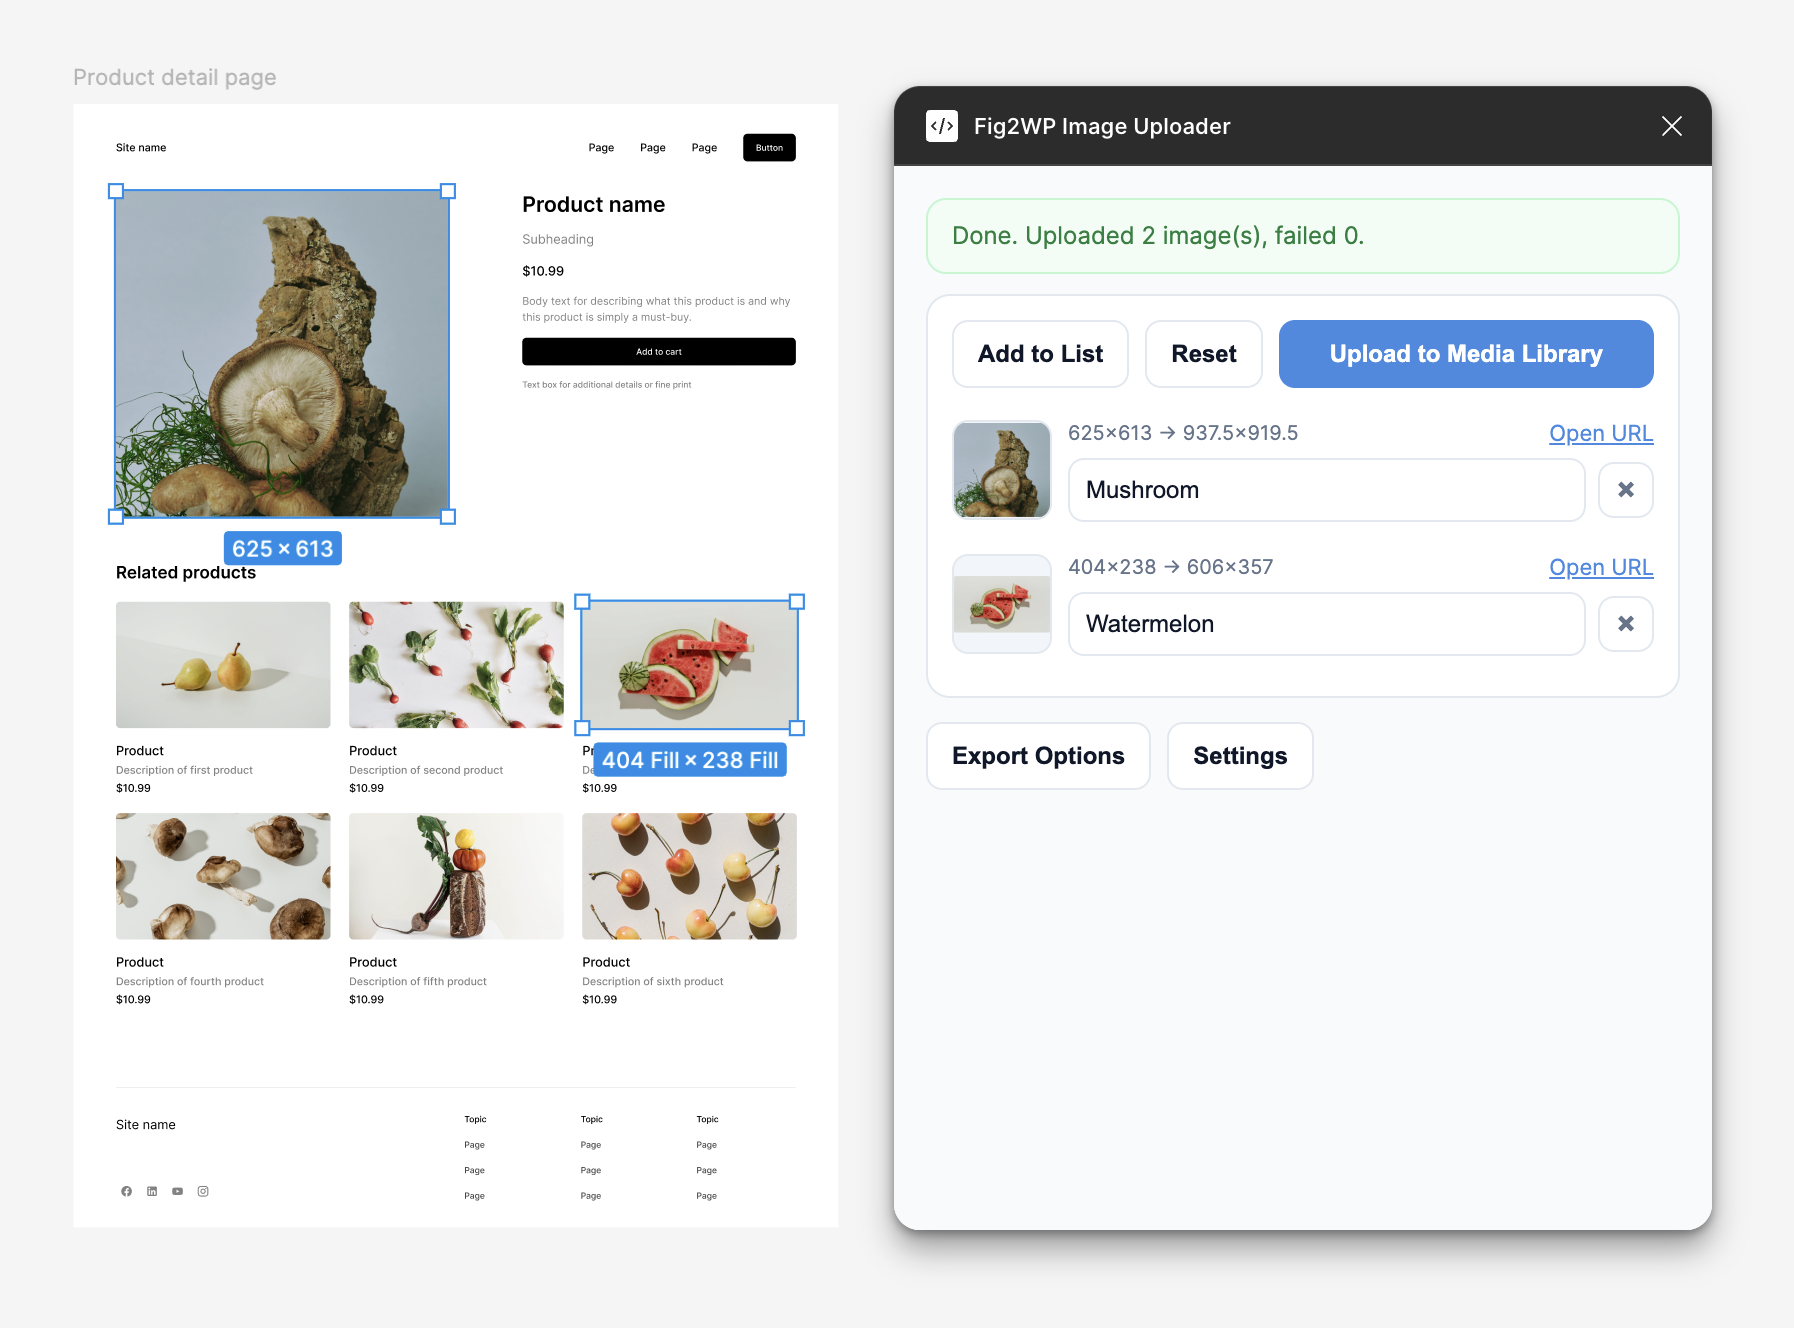
- Wait for export, transform, and upload progress to finish.
- Review results: successful uploads show an Open URL link.
Important: If no layer is selected, the plugin cannot add items to the upload list.

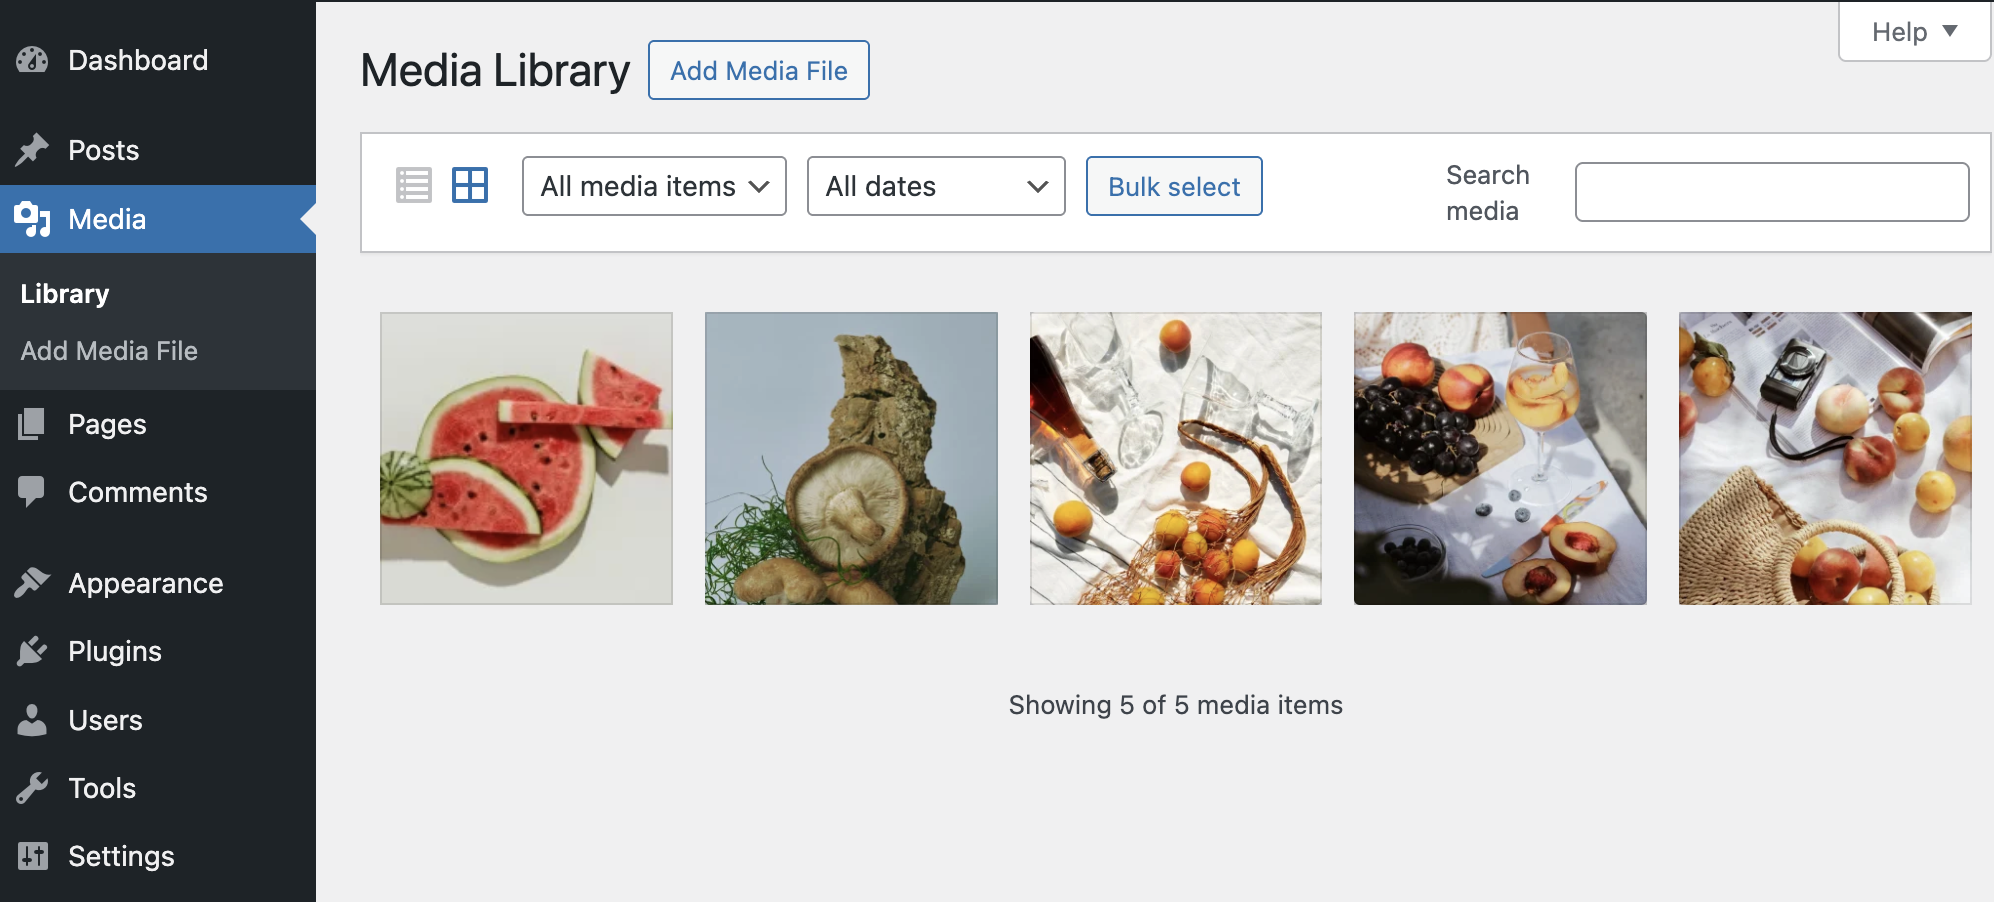
Verify files in WordPress Media Library
- Open Media → Library in WordPress Admin.
- Confirm that new images are listed.
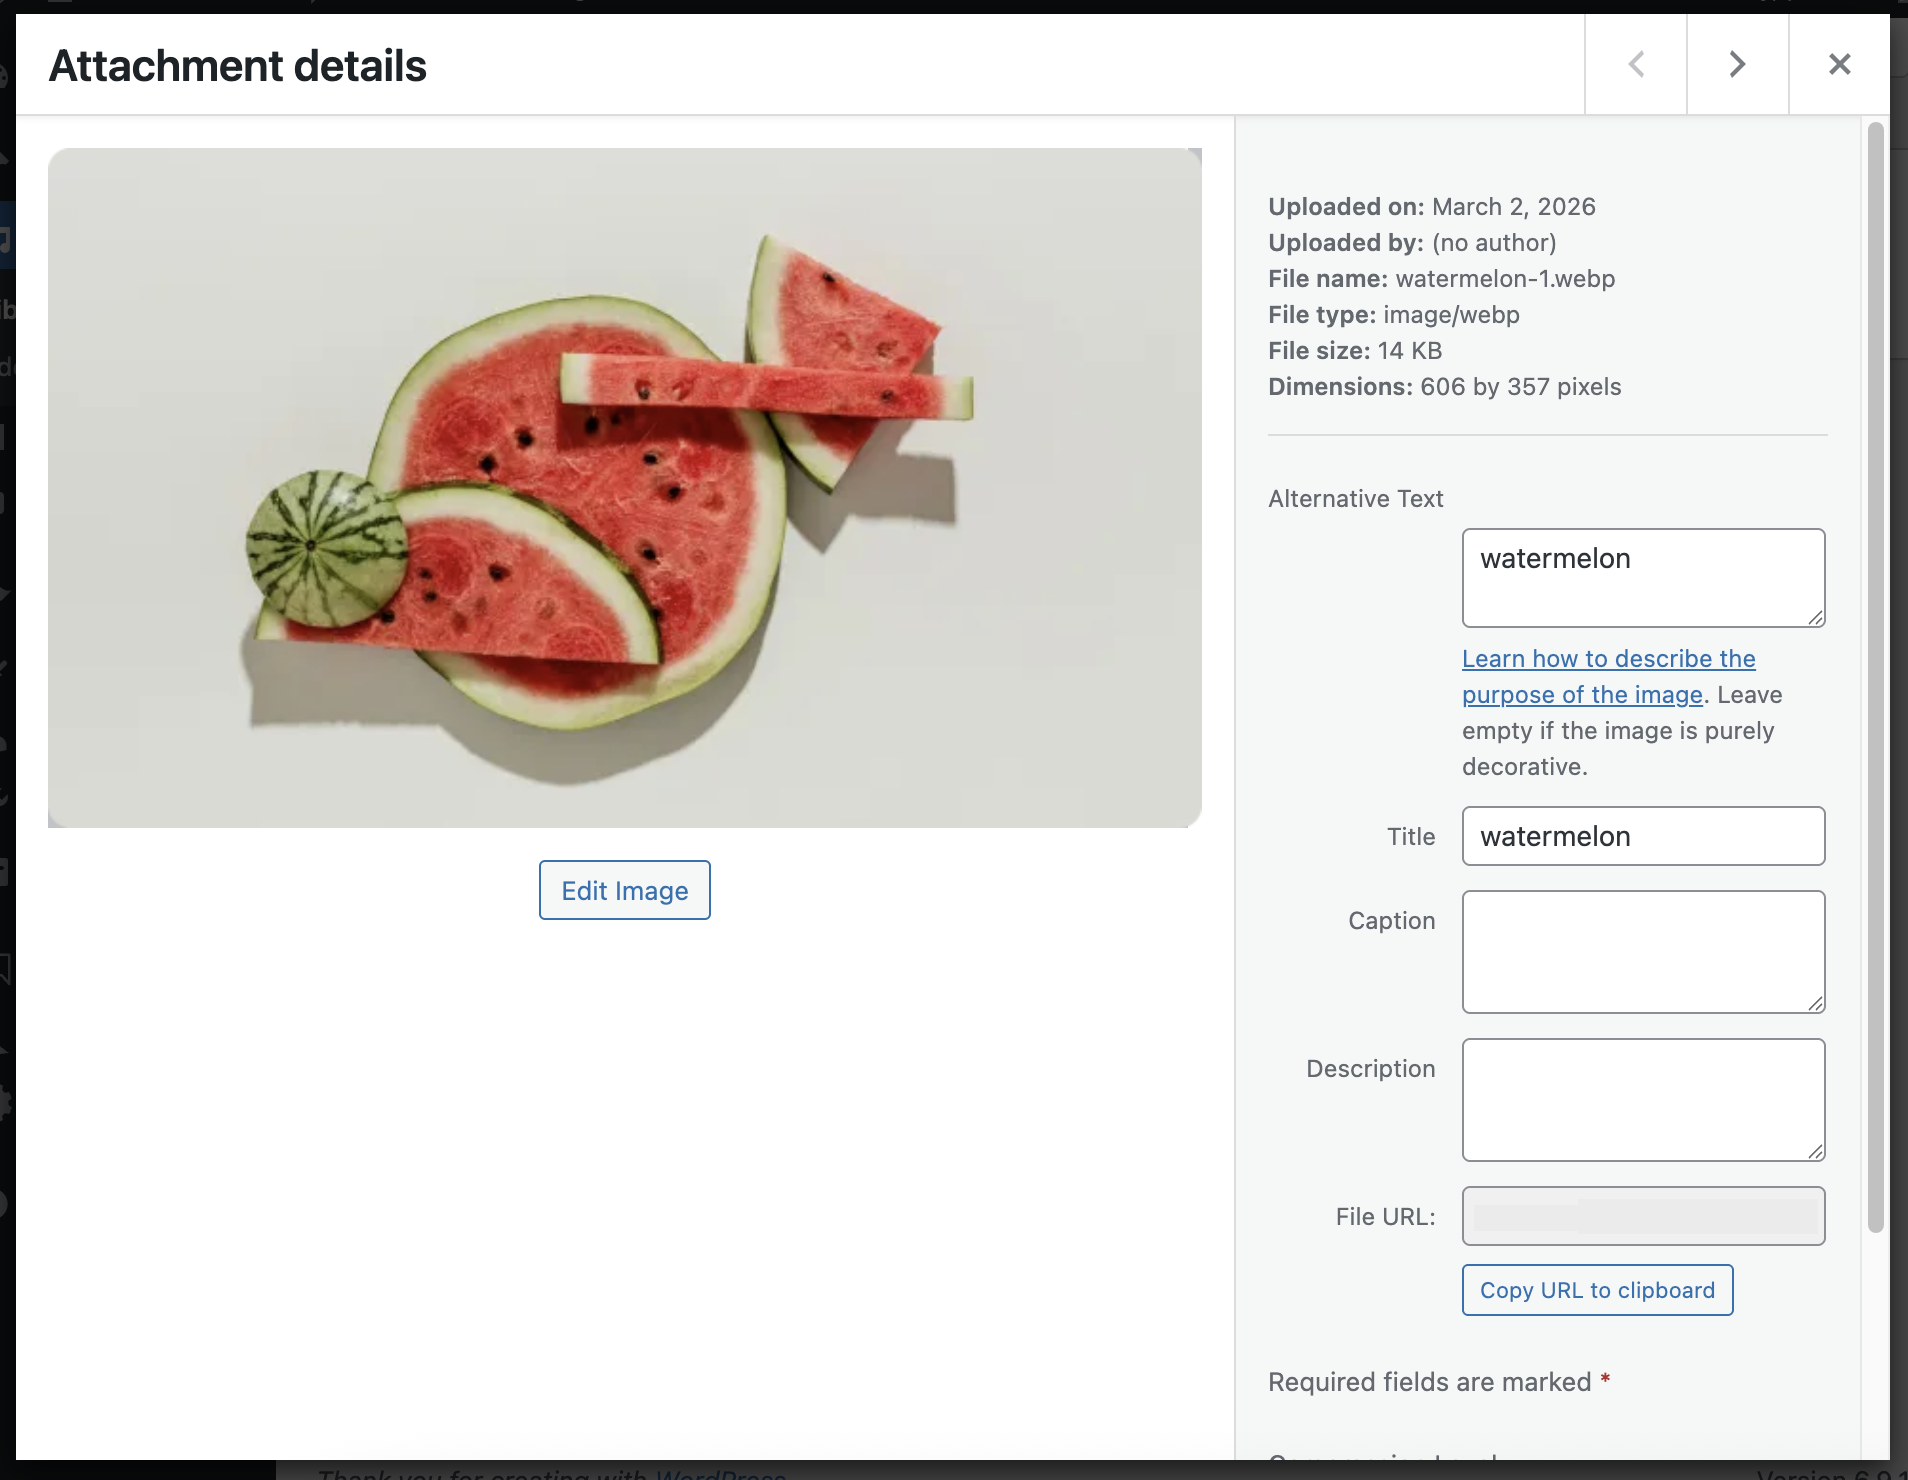
- Open an uploaded image and verify:
- Title matches your plugin input
- Alternative Text matches your plugin input
- File type and dimensions match export settings
Pro license and unlock
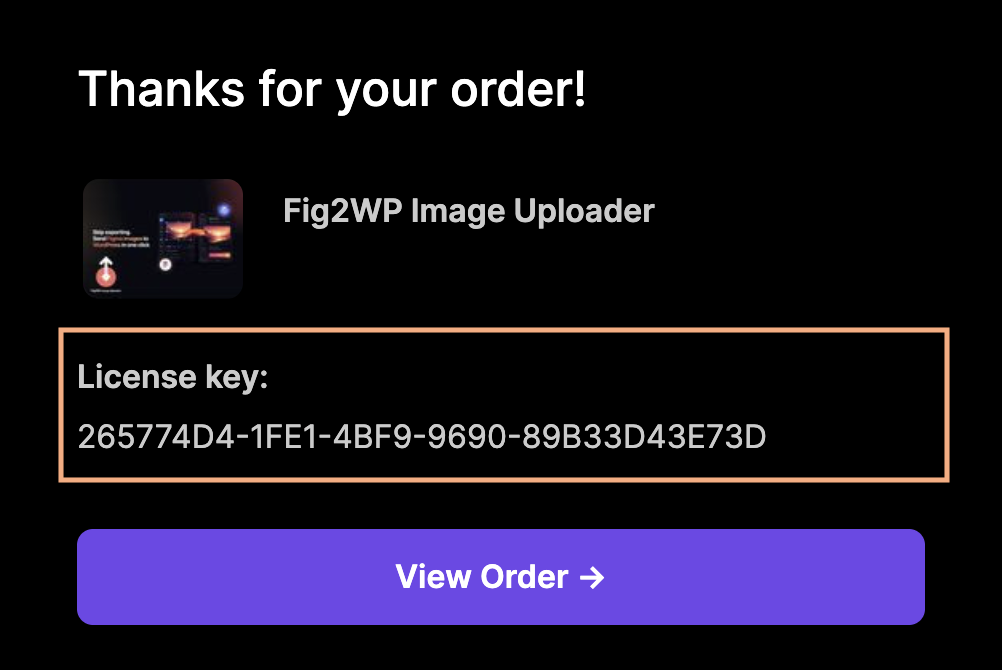
Use a Pro license key to unlock WebP, max dimensions, compression controls, and separate title/alt inputs.
- Purchase a Pro plan via the Upgrade button on the Figma plugin.
- After purchase, check your receipt email and find the line License key:.
- Copy the license key from the receipt email.
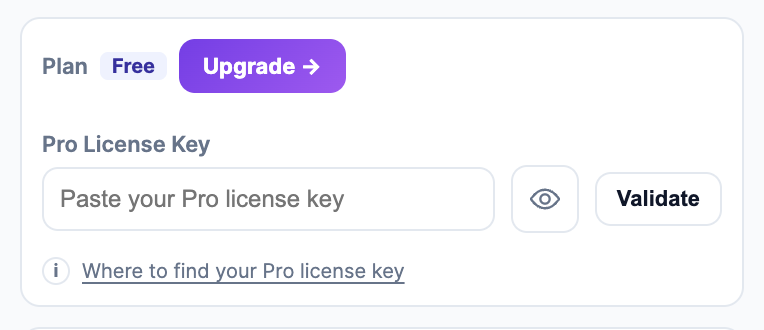
- Open Settings in the Figma plugin UI.
- Paste it into Pro License Key and click Validate.
Tip: You can toggle the eye icon to reveal the API key or license key while typing.
Common issues and quick fixes
- "Please set WordPress Website URL." → Fill URL in Settings.
- "Please set WordPress API Key." → Generate/copy key from WordPress settings.
- "URL must be valid http/https" → Include protocol, for example
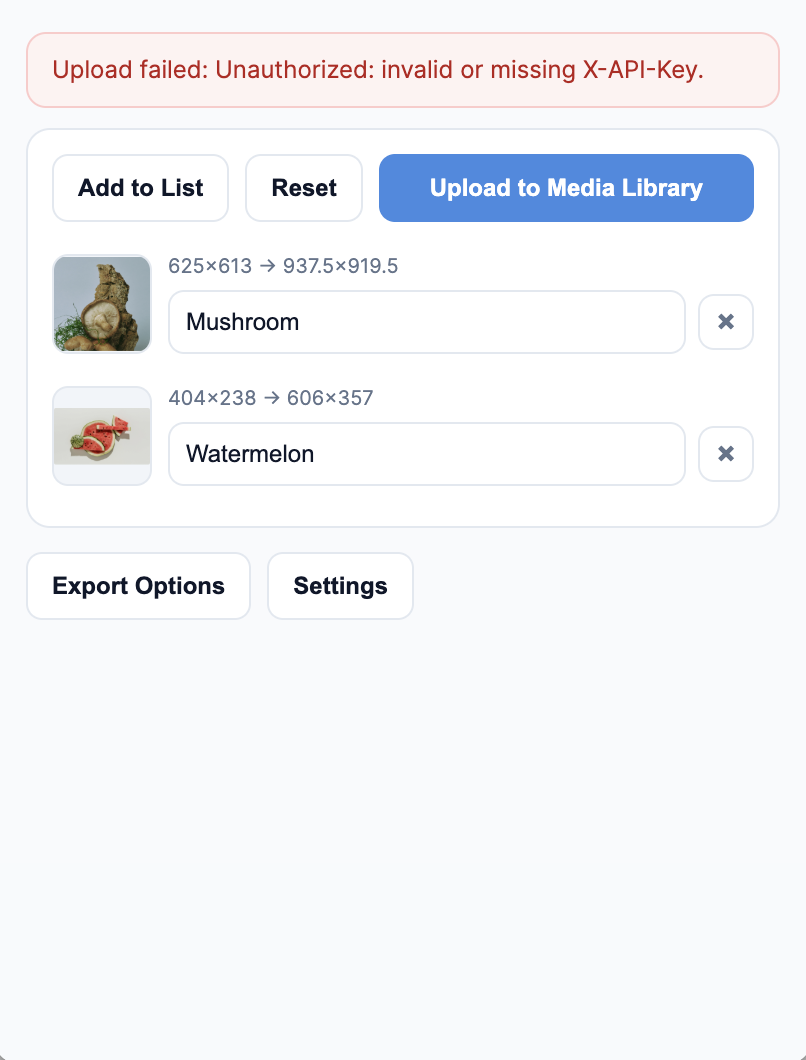
https://your-site.com. - "Unauthorized: invalid or missing X-API-Key" → API key mismatch. Regenerate and paste again.
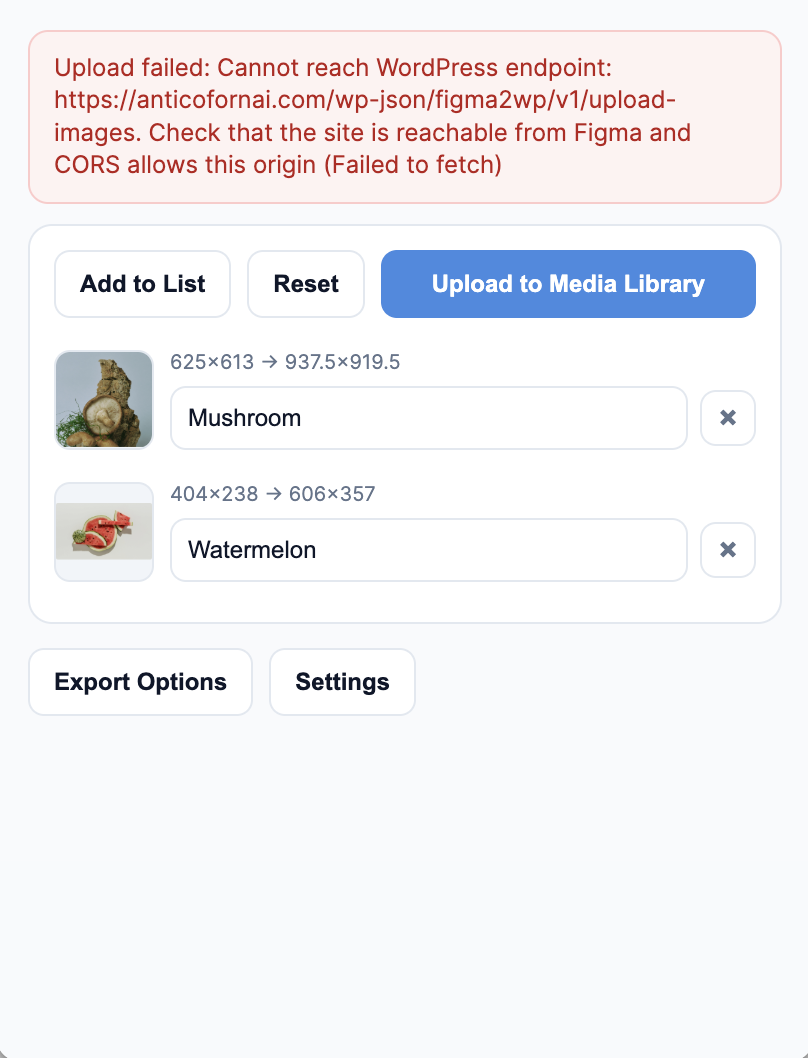
- Cannot reach WordPress endpoint → Verify site URL, endpoint access, SSL, and CORS response headers.
- "No image added to the list." → Select layers and click Add to List first.