
"No Selected Layers Have Export Settings" in Figma — What It Means and How to Fix It
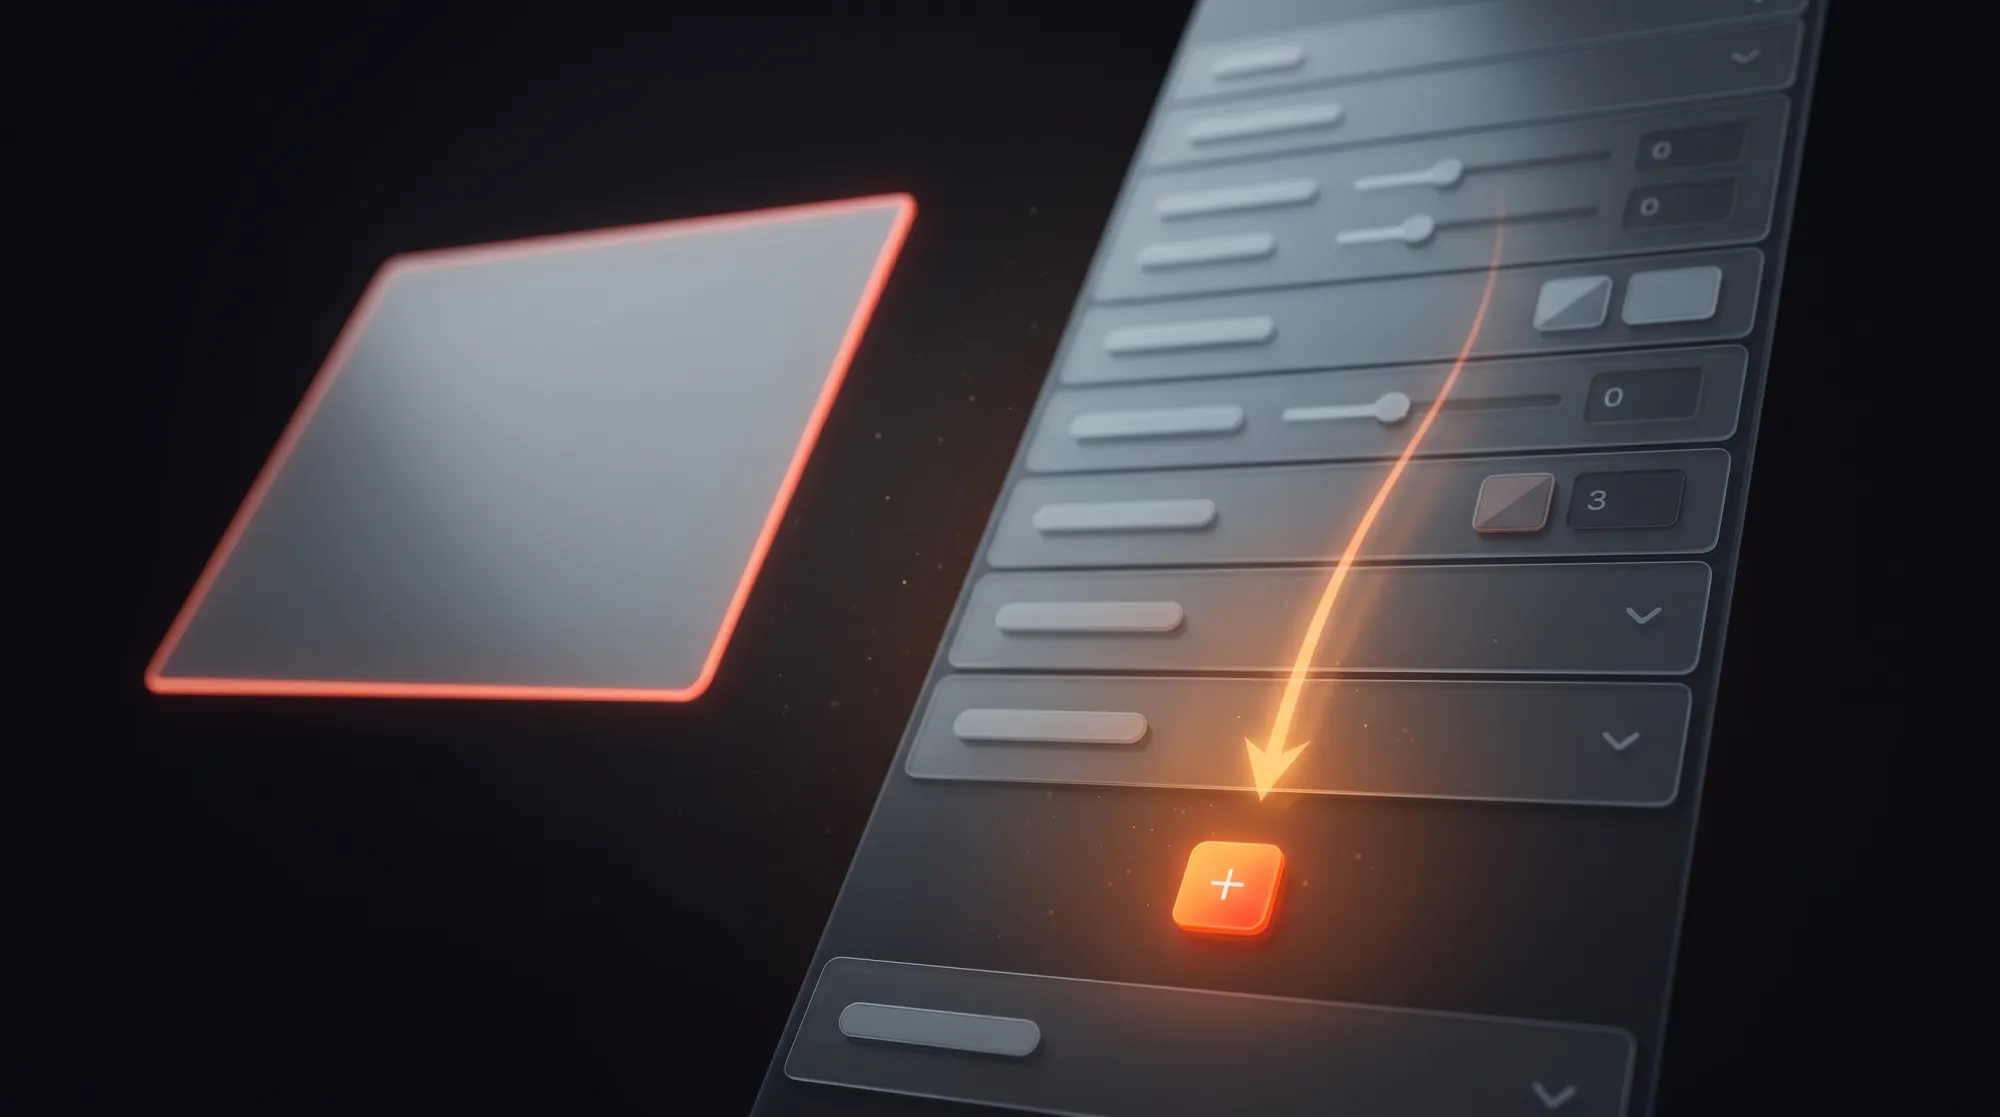
Nothing you selected has been marked for export yet. Select the layers, scroll to the bottom of the right-hand panel, and click the + next to Export. Then export.
Figma treats marking and exporting as two separate steps. The export shortcut only collects layers that already carry an export setting, so on a file where nobody has added one it finds nothing and tells you so. It isn't an error — it's Figma reporting an empty list.
Almost everyone who hits this message has done the reasonable thing: selected a layer, pressed the export shortcut they read about, and been told there's nothing to export. The layer is right there, selected, plainly visible. The message still isn't wrong.
Why Figma works this way
An export setting is a property you attach to a layer, like a fill or a shadow. It says "this layer is an asset, and here's the format and scale it ships in." It sticks to the layer and saves with the file.
The export commands then act on whatever carries that property. That's the whole model, and it explains both halves of the behaviour:
- It's why batch export works at all — mark fifty icons once, re-export them any time with one keystroke, forever.
- It's why a brand-new selection exports nothing. There's no default. An unmarked layer is not an export target, no matter how selected it is.
The design assumes you'll decide once, per file, which layers are deliverables. That's a good assumption for a design system and a confusing one the first time you just want a PNG of the thing you're looking at.
The fix
- Select the layers you want. Several at once is fine.
- Scroll to the bottom of the right-hand panel. Export is the last section, below Effects. On a laptop window it's usually below the fold, which is the single biggest reason people never find it.
- Click the
+. A row appears with format and scale. This is the step that was missing. With several layers selected, that one click marks every one of them. - Set format and scale — PNG or JPG at 2x for web work. The 1x default is behind most blurry exports.
- Export. The Export button inside the panel handles the current selection.
Shift+Cmd+E(Shift+Ctrl+Eon Windows) opens the dialog for every marked layer.
The distinction in step 5 matters more than it looks. The panel button is selection-scoped; the shortcut is file-wide. If the shortcut gives you far more files than you expected, that's why — old export settings from months ago are still attached, doing exactly what they were told.
You did mark them and still get the message
Six situations produce the same message on a file where export settings genuinely exist.
1. The setting is on a child, and you've selected the parent
Export settings don't inherit in either direction. Marking a group does not mark the layers inside it, and marking the layers does not mark the group. Double-clicking to edit something inside a group and then clicking away can easily leave you with the parent selected. The panel header tells you what's selected — Group, Frame, Rectangle. Check it against what you marked.
2. The marked layers are on another page
Files accumulate pages, and it's easy to mark your assets on Exports while working on Drafts. Nothing is visibly different. Check the page list in the left sidebar before assuming the settings vanished.
3. You're in Dev Mode
Dev Mode has no Export panel — its inspect sidebar carries its own, more limited export controls, and it can't add or edit export settings at all. If your right-hand panel looks unfamiliar and has no + to click, switch back to Design mode with the toggle at the top right. The rest of what changes between modes is in exporting assets from Dev Mode.
4. Undo quietly removed it
Adding an export setting is an undoable action like any other. A few Cmd+Z presses to fix something unrelated can walk right back over it. Select a layer you believe is marked and look: if the Export section shows no row, it isn't marked, whatever you remember doing.
5. You have view-only access
On a file shared as view-only you can't attach export settings, because that would be editing the file. You can still export what the file's owner already marked. If the + is absent or inert, check the badge at the top of the window — duplicating the file to your own drafts gives you edit rights.
6. The layer is hidden or has nothing to render
A hidden layer, an empty group, or a shape with no fill and no stroke has no pixels. Figma may accept the setting and then produce nothing, or refuse outright. Toggle visibility on and confirm the layer actually draws something before blaming the export.
When you just want the image, now
If this is a one-off and you don't want export settings living in the file at all, skip the whole system:
- Copy as PNG — right-click → Copy as PNG, or
Shift+Cmd+C. Puts the rendered layer on your clipboard, ready to paste into Slack or a document. No settings involved. It's 1x only, so it's fine for a comment thread and not for a website. - Drag straight out — in the desktop app you can drag a marked layer from the canvas to your desktop. Still needs the export setting, but no dialog.
The related messages
| What Figma says | What it means |
|---|---|
| No selected layers have export settings | You triggered a selection-scoped export and nothing in the selection is marked. Add a setting with the +. |
| No layers have export settings | Same cause, file-wide scope. Nothing anywhere is marked for export. |
| The export panel isn't visible at all | You're in Dev Mode, on view-only access, or the panel is scrolled out of sight. |
| Export produced a 0 KB or empty file | The layer is hidden, empty, or entirely outside its parent frame's clipping bounds. |
| Export produced far more files than expected | Shift+Cmd+E is file-wide and old export settings are still attached. Use the panel's Export button for selection only. |
FAQ
What does "no selected layers have export settings" mean?
None of the selected layers has been marked for export. Marking is a separate step: select the layers and click the + in the Export section of the right-hand panel.
Where is the Export panel in Figma?
Bottom of the right-hand sidebar, below Effects, in Design mode. You usually have to scroll to reach it.
Why can't I add export settings?
Either you're in Dev Mode, which has no Export panel, or you have view-only access to the file. Switch to Design mode, or duplicate the file to your drafts.
Do export settings apply to layers inside a group?
No. They apply only to the exact layer they're attached to. Marking a group exports the group as one flattened image — which is the trick for exporting several layers as one PNG.
How do I export without any export settings?
Right-click → Copy as PNG, or Shift+Cmd+C. Clipboard only, 1x only, but instant.
Do export settings save with the file?
Yes, and they're shared with everyone who opens it. That's the point — set them up once and the file's assets stay re-exportable forever.
Or skip export settings entirely
Fig2WP works from your live selection — no marking step, no export panel. Select layers in Figma, pick format, quality and max width once, and the images land in your WordPress Media Library with titles and alt text already filled in.