
Figma Export Settings for the Web: Format, Scale & Quality Explained
Figma's export panel has three controls: scale, suffix, and format. That's it. And yet most images that come out of it are wrong for the web — blurry at 1x, or five times heavier than they need to be.
The panel isn't the problem. The defaults are. Here's what each setting does and what to actually set it to.
Where the export panel lives
Select any layer, frame, or group. In the right-hand panel, scroll to the bottom until you see Export, and click the +. You can add multiple export settings to the same layer — a 1x JPG and a 2x JPG, say — and Figma will produce all of them at once.
Anything with an export setting attached joins the batch when you press Shift+Cmd+E. That shortcut is the closest thing Figma has to a bulk export, and it's worth memorizing — we cover it properly in exporting multiple layers at once.
Format: the decision tree
Figma offers PNG, JPG, SVG, and PDF. For web work, the choice comes down to this:
- JPG — photos and anything photographic. Smallest of Figma's raster options.
- PNG — screenshots with fine text, and anything that needs transparency. Lossless, so files get big fast.
- SVG — logos, icons, simple illustrations. Scales to any size at a few kilobytes. Never rasterize an icon if you can avoid it.
- PDF — print handoffs. Not for the web.
Notice what's missing: WebP, the format you actually want on a WordPress site. Figma doesn't export it. We wrote a separate guide on getting WebP out of Figma, because the workaround deserves its own page.
Scale: the setting that causes blurry images
Scale is a multiplier on the layer's dimensions. A 600px-wide frame exported at 2x becomes a 1200px file.
Here's the rule that matters: export at 2x the size the image will be displayed at. Screens with high pixel density — every phone, most laptops — pack two physical pixels into each CSS pixel. A 1x export looks soft on them. A 2x export looks sharp everywhere.
Two mistakes to avoid at the extremes. Exporting at 1x because it's the default: that's where blurry hero images come from. And exporting at 4x "to be safe": nobody's screen can show the difference past 2x, so you're quadrupling file size for nothing.
Suffix: small feature, real use
The suffix field appends text to the exported filename. Its one genuinely useful trick: set up two export settings on the same layer, 1x with no suffix and 2x with @2x. One shortcut press gives you both files, correctly named, ready for a srcset.
Quality: the control Figma doesn't give you
Figma gives you a coarse quality preset for JPG — it defaults to High — and nothing else. No numeric control, no live file-size readout, and PNG is lossless by definition. For the web that means every export needs a second pass.
Targets worth writing down: content images under 200–300 KB, hero images under 500 KB, and 75–85% quality for JPG or WebP. Squoosh (free, in-browser) gets you there in a few clicks per image. Or skip the second pass entirely — Fig2WP Image Uploader has a quality slider and max-dimension control built in, applies them during export, and sends the result straight to your WordPress Media Library.
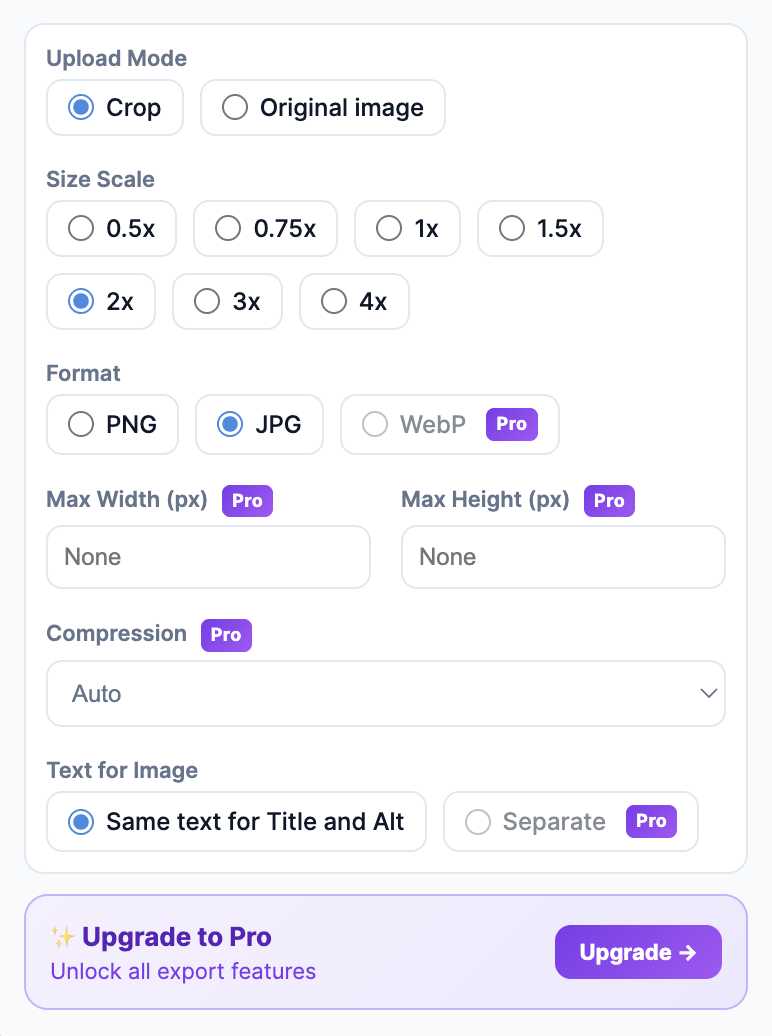
A settings cheat sheet
| Asset | Format | Scale | After export |
|---|---|---|---|
| Hero / banner photo | JPG (or WebP via plugin) | 2x of display size | Compress to <500 KB |
| Content / blog image | JPG (or WebP via plugin) | 2x | Compress to <300 KB |
| Screenshot with text | PNG | 2x | Compress losslessly |
| Logo, icon | SVG | — | Nothing |
| Graphic with transparency | PNG (or WebP via plugin) | 2x | Compress |
FAQ
Why do my Figma exports look blurry on the website?
They were exported at 1x and displayed on a high-density screen. Re-export at 2x of the displayed size. This fixes it in nearly every case — and if 2x didn't fix yours, we cover the three other causes of blurry exports separately.
Can I export multiple layers at once?
Yes — add export settings to each layer, then Shift+Cmd+E exports everything marked in one batch, each with its own settings.
Does Figma compress JPG exports?
Lightly, with no control over it. Plan on a compression pass afterwards, or use a plugin that compresses during export.
Export settings, minus the second pass
Fig2WP applies format, quality, and sizing during export and uploads the finished files to your WordPress Media Library in one click — WebP included.