
How to Export Images from Figma to WordPress (Without Downloading Anything)
Every WordPress site built from a Figma design hits the same boring wall: getting the images across. Export, download, rename, compress, convert, open wp-admin, upload, add alt text. For one image, fine. For forty product shots, that's your afternoon.
This guide covers both ways to do it. The manual route with Figma's built-in export, done properly so you don't ship 4 MB PNGs. And the shortcut: sending images from the Figma canvas straight into the WordPress Media Library, no download step at all.
The manual way: Figma export → WordPress upload
If you only move a handful of images a month, the built-in workflow is honestly fine. Here's the version that produces web-ready files instead of bloated ones.
- Select the layer or frame you want, then find the Export section at the bottom of the right-hand panel.
- Pick a format. JPG for photos, PNG only if you need transparency. Figma doesn't offer WebP here — more on that below.
- Set the scale to 2x if the image will be displayed smaller than its export size. A blog hero shown at 1200px wide should be exported around 2400px so it stays sharp on retina screens.
- Export and compress. Figma's JPG output is lightly compressed at best. Run the files through Squoosh or TinyPNG before upload; aim for under 200–300 KB per content image.
- Rename the files.
Frame 482.jpgtells Google nothing.blue-ceramic-mug-studio.jpgdoes. Lowercase, hyphens, descriptive. - Upload to WordPress via Media → Add New, then write alt text for each image in the attachment details screen.
Six steps, three tools, and two of those steps (compression and renaming) are the ones everyone skips when the deadline is close. That's how sites end up scoring 40 on PageSpeed with a homepage full of screenshots named Group 12 (3).png.
The problem nobody mentions: WebP
WordPress has supported WebP natively since version 5.8, and it's the format you actually want for content images. Same visual quality as JPG at roughly 25–35% smaller file size, and it handles transparency like PNG at a fraction of the weight.
Figma's export panel doesn't offer it. Your options are exporting PNG and converting afterwards with yet another tool, or leaning on a plugin that converts during export. Either way, the manual pipeline just grew a fourth tool.
The direct way: upload from Figma to WordPress in one click
This is what we built Fig2WP Image Uploader for. It's a pair of plugins — one in Figma, one in WordPress — that talk to each other over an API key. You select layers on the canvas, hit upload, and the files land in your Media Library already converted, compressed, and named.
The one-time setup takes about five minutes:
- Install the WordPress plugin and generate an API key under Settings → Fig2WP Image Uploader.
- Install the Figma plugin and paste in your site URL and that key.
That's it for setup. From then on, the daily workflow looks like this:
- Select layers in Figma. The plugin lists everything you've selected, with a preview of each.
- Set the file name and alt text right in the list. Whatever you type becomes the attachment title and alt text in WordPress — no second pass in wp-admin.
- Pick your output: WebP, PNG, or JPG, with quality and max-dimension controls. The conversion happens in the plugin, so WebP is just… an option, not a project.
- Hit upload. Every selected layer is exported, converted, and sideloaded into the Media Library in one batch.
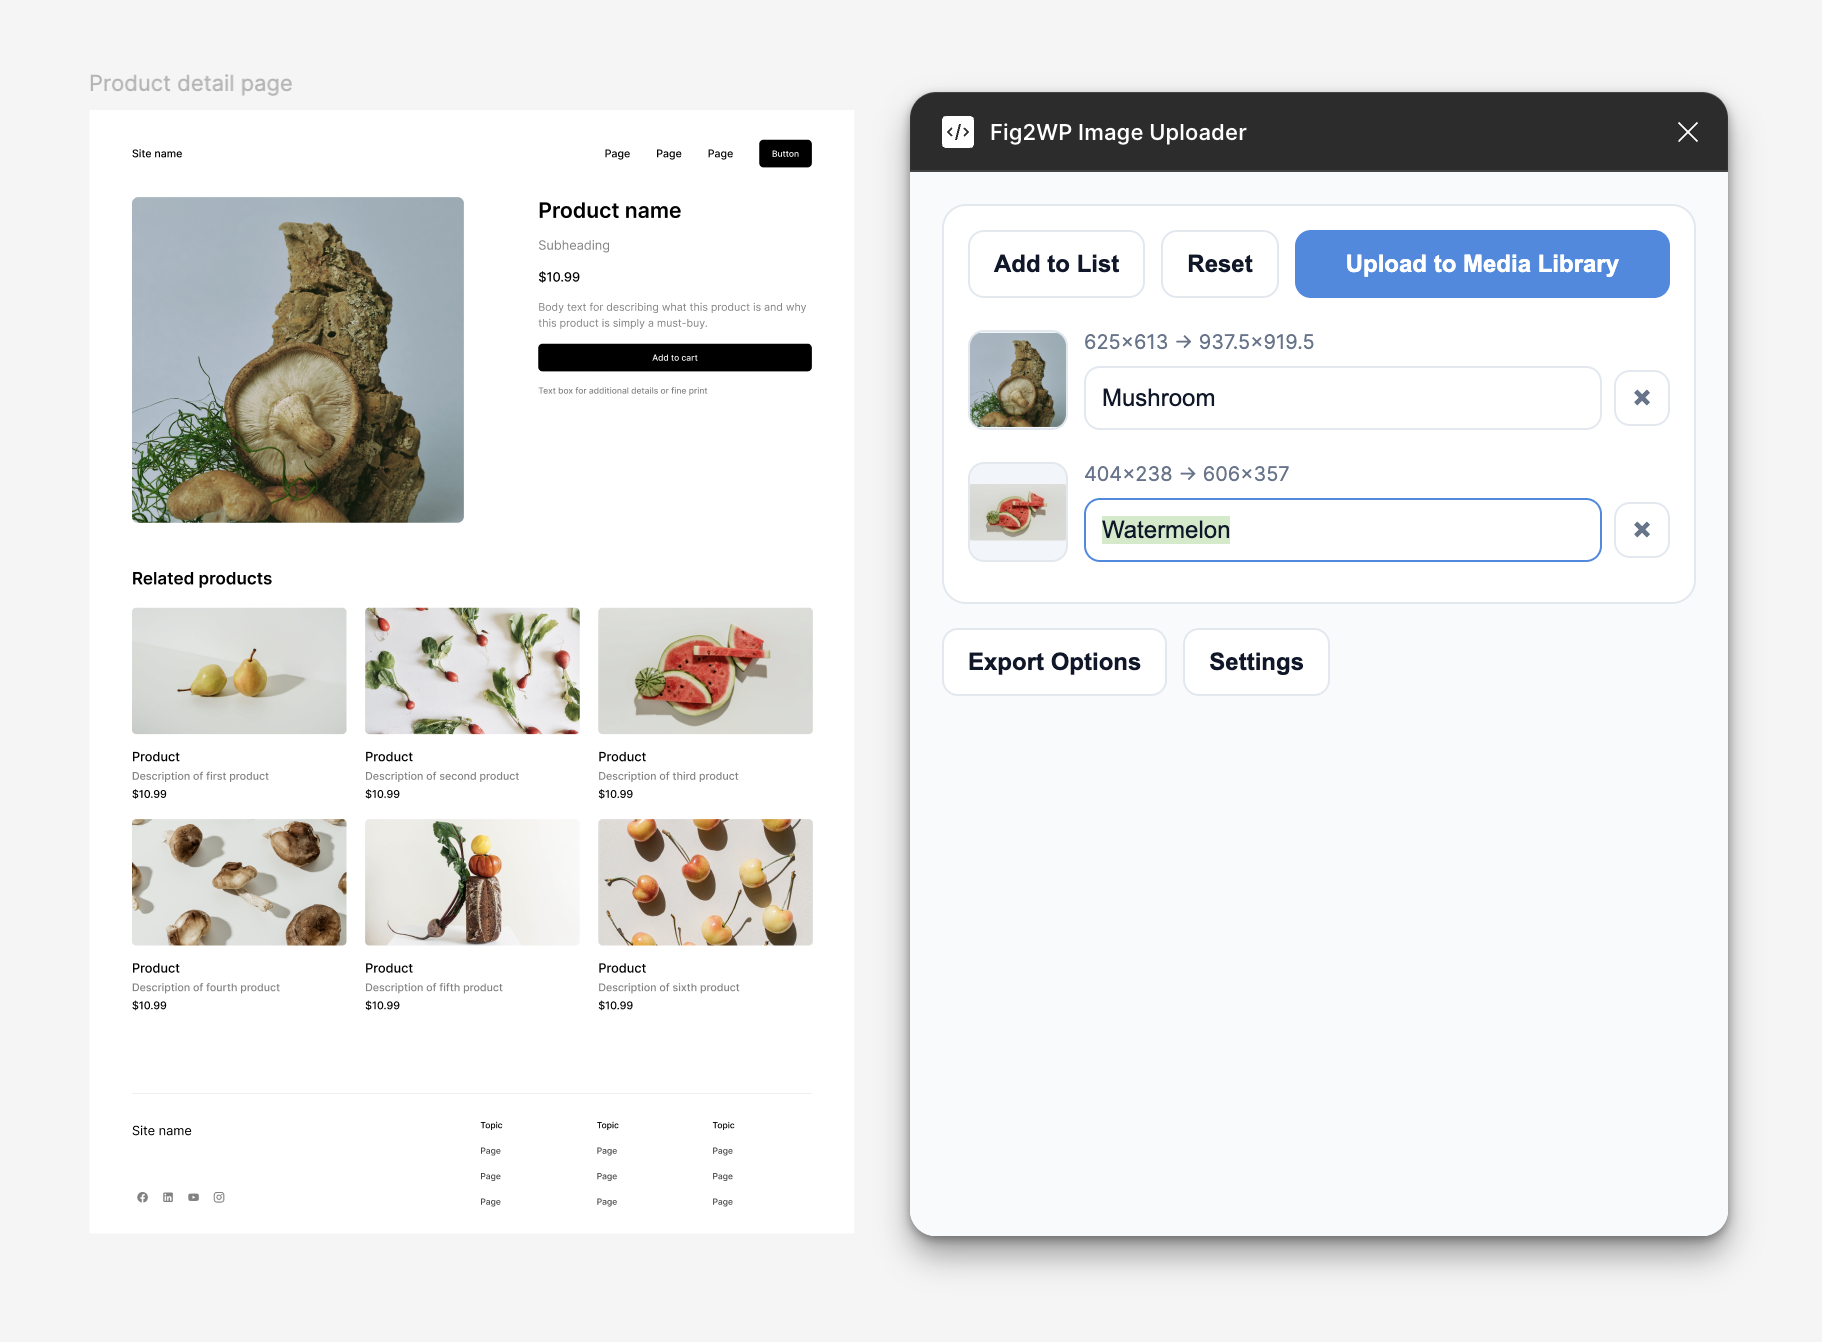
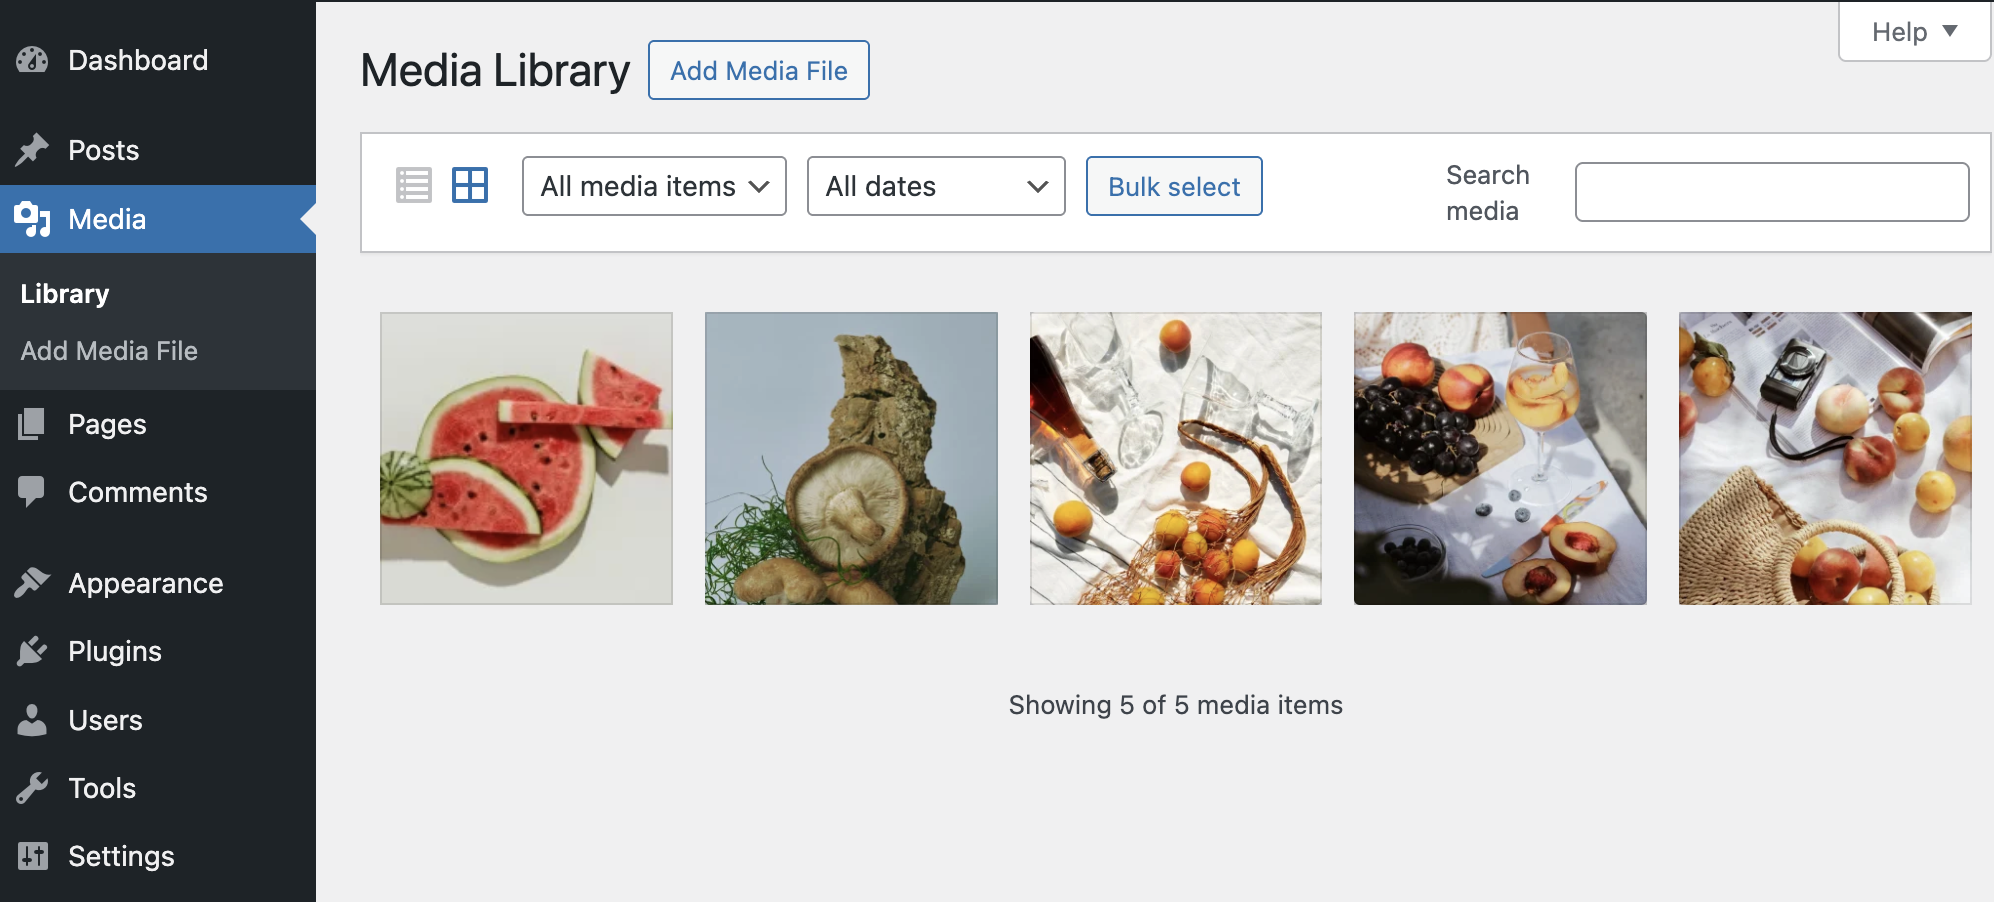
No downloads folder full of Frame 482 (1).png. No separate compression tool. No retyping alt text into WordPress. The steps you used to skip under deadline pressure are now the default path.
The full walkthrough with screenshots for every step lives in the docs.
Which format should you pick?
Short version: WebP unless you have a reason not to.
| Format | Use it for | Watch out for |
|---|---|---|
| WebP | Almost everything: photos, UI shots, graphics with transparency | Very old browsers (a rounding error in 2026) |
| JPG | Photos when you need maximum compatibility, email embeds | No transparency; text gets fuzzy at high compression |
| PNG | Screenshots with fine text, images needing lossless quality | File sizes 3–5× larger than WebP for photos |
Quality setting: 75–85% is the sweet spot for both WebP and JPG. Below 70 you'll start seeing artifacts in gradients; above 90 you're paying in kilobytes for detail nobody can see.
Write the alt text where the context is
Here's a habit worth stealing regardless of which workflow you use: write alt text while you're looking at the design, not weeks later in a Media Library grid of thumbnails.
In Figma you know exactly what each image is and why it's on the page. In wp-admin, three weeks later, it's "image… of a… person?" That context gap is why most alt text is either missing or useless. Setting title and alt at the moment of export fixes it as a side effect.
FAQ
Can Figma export images directly to WordPress?
Not on its own — Figma exports to your computer. A connector plugin like Fig2WP bridges the gap: it authenticates against your site with an API key and uploads selected layers straight to the Media Library.
What resolution should I export from Figma for the web?
2x the displayed size, then compress. Higher than 2x adds weight with no visible gain on any real screen.
Does WordPress accept WebP uploads?
Yes, natively since WordPress 5.8 (August 2021). If your host runs anything current, WebP works out of the box.
Is there a free way to do this?
Fig2WP's free tier covers small batches per upload, which is plenty for a blog post's worth of images. The Pro tier removes the cap for full site builds.
Skip the download step
Fig2WP Image Uploader sends selected Figma layers to your WordPress Media Library in one click — converted to WebP, compressed, named, and alt-texted before they arrive.